Quite possibly the best (or at least most popular) trail in Bryce Canyon National Park. The Queens Garden and Navajo Loop combines these two trails into a great loop that gives you up close views of the Hoodoos.
There’s so much to see in this short trail which makes it a perfect one for any visitor to the park. If there’s one trail you have time for, make it this one. This guide will help you with planning how to go and what to see along the trail.
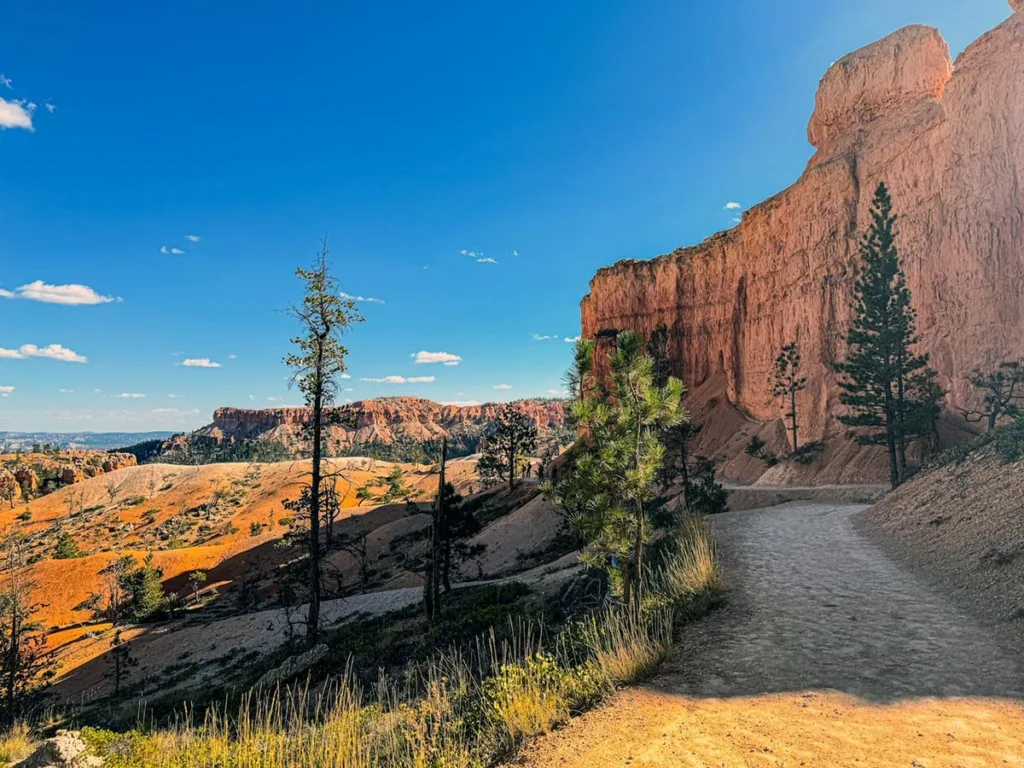
About the Hike
Distance: 3.1 miles | Type: Loop | Avg. Time: 1.5 – 2 hours | Difficulty: Moderate | Dog Friendly: No
The Queens Garden and Navajo Loop is the best trail for any visitor to Bryce Canyon National Park. Which by that means it’s quite popular too. You’ll find lots of folks also traveling this trail to get up close to the hoodoos. The trail is a combination of two different trails that makes a large loop.
The trail can be done in either direction. The National Park recommends doing it clockwise (starting from Sunrise Point).
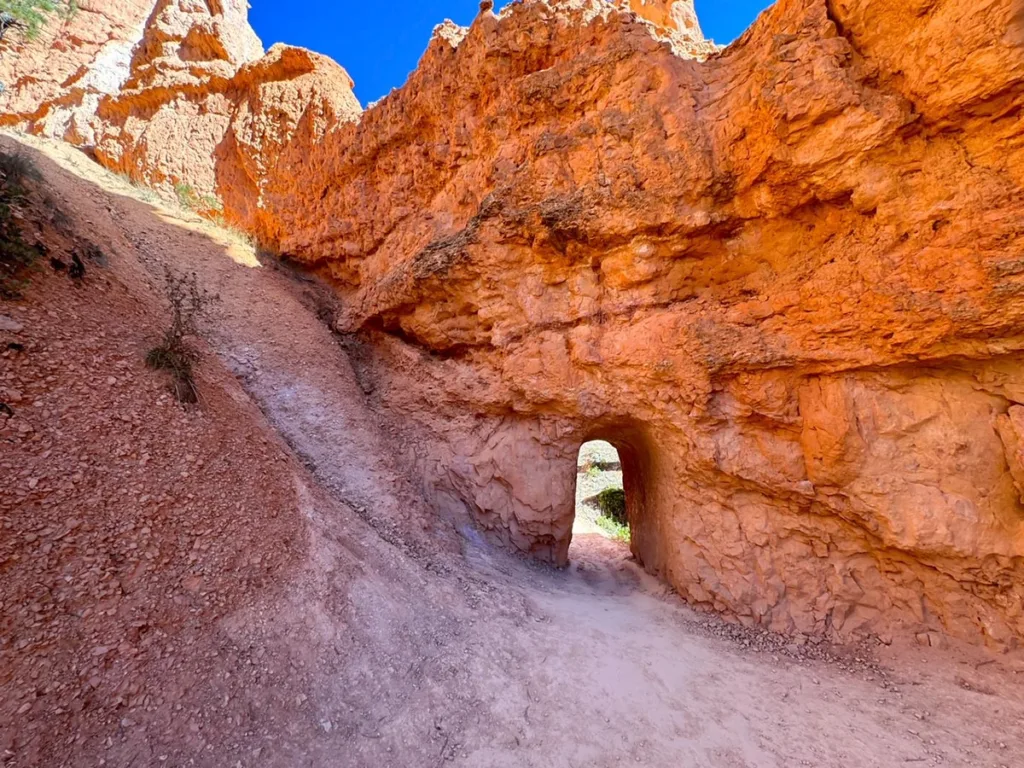
The trail takes visitors down from the rim into the heart of the hoodoos. You’ll get up close to the hoodoos and walk among quite a few of them on your trip through this pretty smoothly made trail. You’ll even walk through a few tunnels in the areas which is a fun thing as well.
There’s even an off-shoot to get close to the “Queen Victoria” hoodoo. Although you really have to squint a bit I think to see the resemblance. You can see a few other landmarks such as Thor’s hammer and the two bridges on the hike as well.
The hike takes an average of 1.5 – 2 hours. It’s pretty accurate I found in terms of timing. Please make sure to stay on the trail as it reduces erosion. There were sadly a lot of people ignoring that rule.
Queens Garden and Navajo Loop Trailhead & Parking
The Queens Garden and Navajo Loop can be started at either the Sunrise or Sunset point. At each of these viewpoints there is parking available. There is more parking available at the sunrise point and even a general store where you can stop to use the toilet, get water, etc.
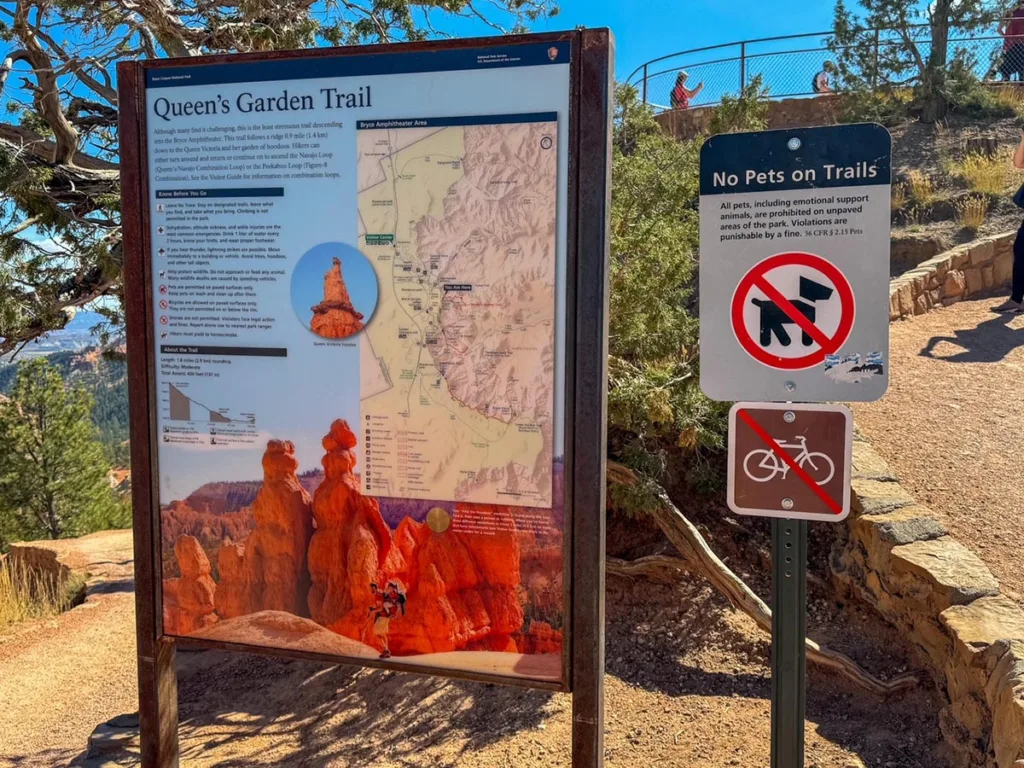
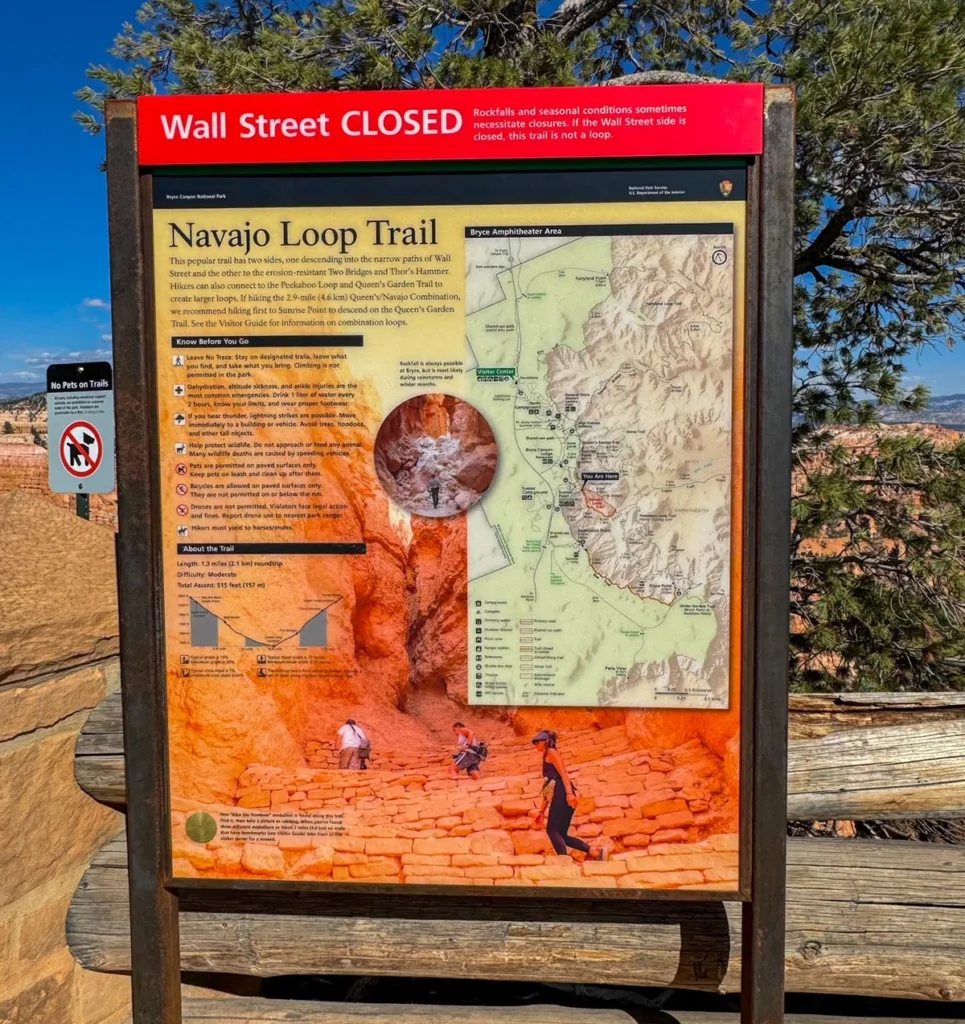
Beyond parking at these viewpoints, as parking can be full. There is also an additional option to take the Bryce Canyon shuttle when it is running. The easiest parking for this is actually outside of the park in Bryce Canyon City. You’ll see signs for the parking.
Otherwise you can also take the shuttle from most of the major points within Bryce Canyon. This is also an option. For those taking the shuttle just be sure you are back in time before the shuttle stops running. Check the shuttle website for information on running times.
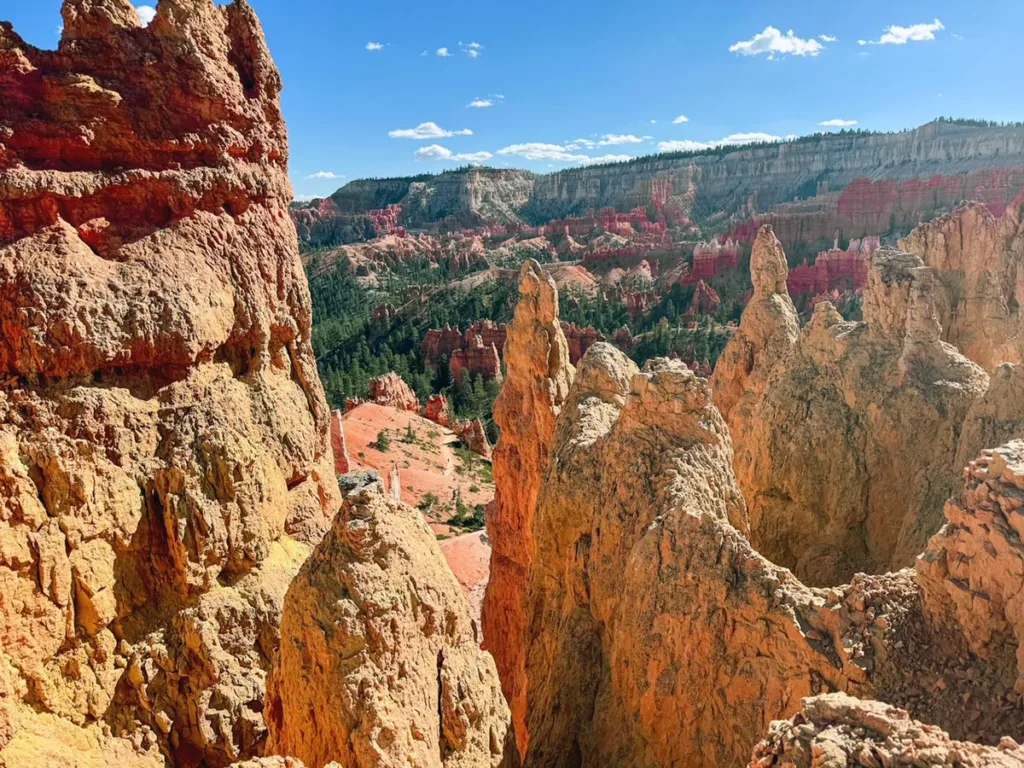
Best Time to Do the Hike
The hike is best done between March and October in terms of weather in the park. Summer however, can be very hot and you should take precautions from the sun and weather there.
For summer hikes be sure to wear a hat, other sun blocking clothing, sunscreen. And of course bring extra water.
Winters can be a great time to do the hike depending on the weather. Winters see fewer visitors and you can still do the hike most of the year. Just be sure to check on any snow/ice conditions and prepare accordingly.
Spring and Fall are the best seasons for weather in the park. In my opinion fall is the best. I find the weather to be reasonable and lack of rain or snow melt makes the hike perfect for visitors. If you can visit post-labor day you’ll also likely experience smaller crowds.
The Queens Garden and Navajo Loop Hike
The Queens Garden and Navajo Loop hike can be started from either the Sunrise or Sunset Point. The hike between the two points is pretty easy so deciding where to park is more about where parking is available.
The trail descends early on to get you close to the hoodoos. I did the hike clockwise and this guide follows that as well. I choose clockwise as folks in Zion recommended it to me and it’s also the National Park recommendation. Clockwise is also easier on the knees as the descent is more gradual. However, this means you’ll have a steeper ascent at the end.
It’s pretty much whatever is easiest for you and your own body.
From the Sunrise trailhead, descend down the trail you see past the sign. It’ll wind its way down into the valley. It’s a pretty smooth trail for the entire time.
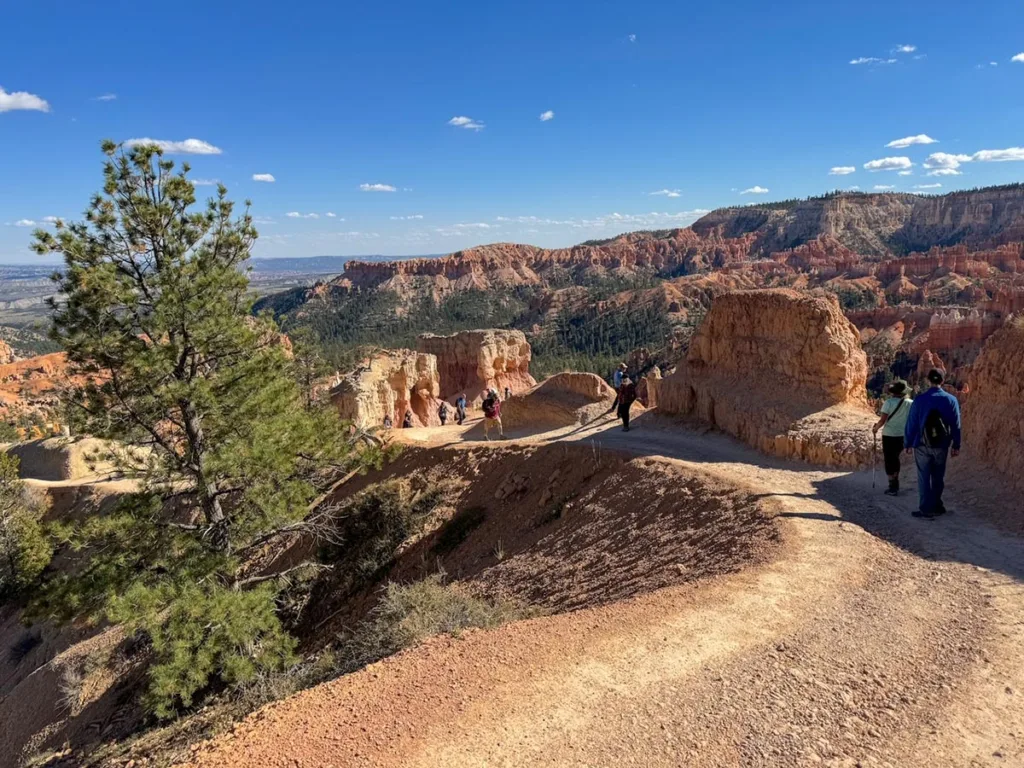
Be sure to check out some of the views from the side. There are a few spots with some expansive views over the area.
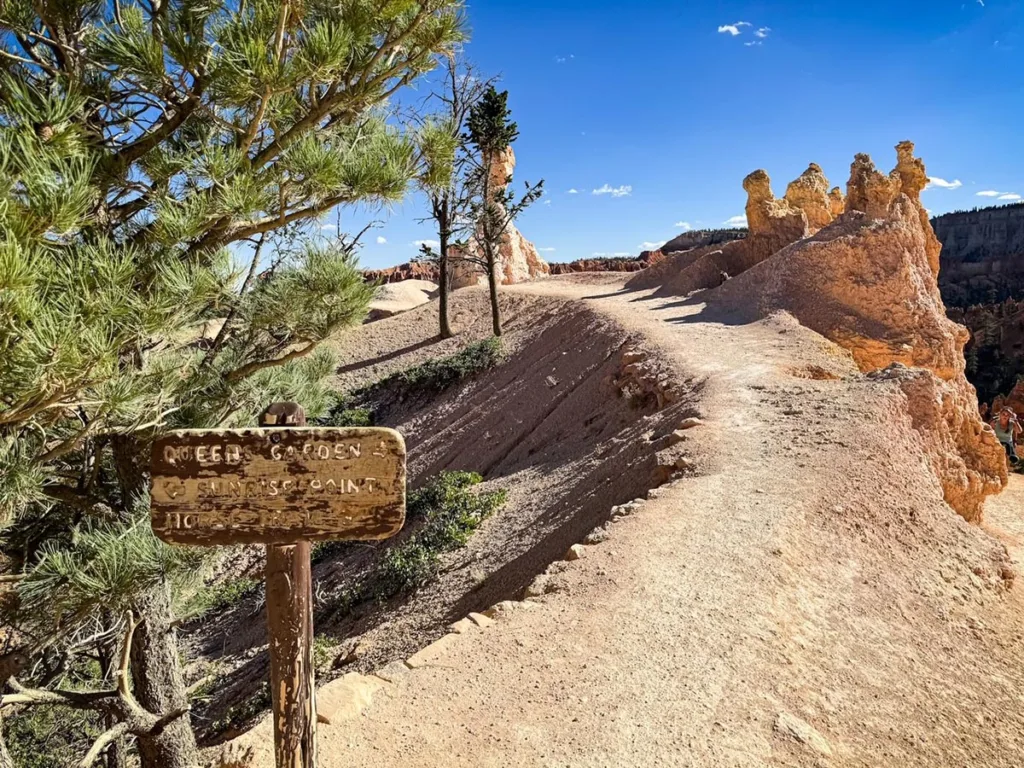
About 0.6 miles or so from the start, you’ll see the first major intersection. This is between the horse trail and the current trail. The sign was quite worn when I passed but you can still make out horse trail. You may even see some folks riding if you are lucky.
About another 0.1 mile you’ll see a little whole cut through the rock for a tunnel that you’ll pass through. There’s a total of 3 during this trail.
After about 0.3 miles you’ll get to the next major intersection. This is for the Queen Victoria Hoodoo. It’s a short spur off the trail only a few hundred feet each way so it’s not a bad quick pitstop. But you need some proper imagination to see it. I’m not even 100% sure I found the right one but it was the best match to the photo they showed.
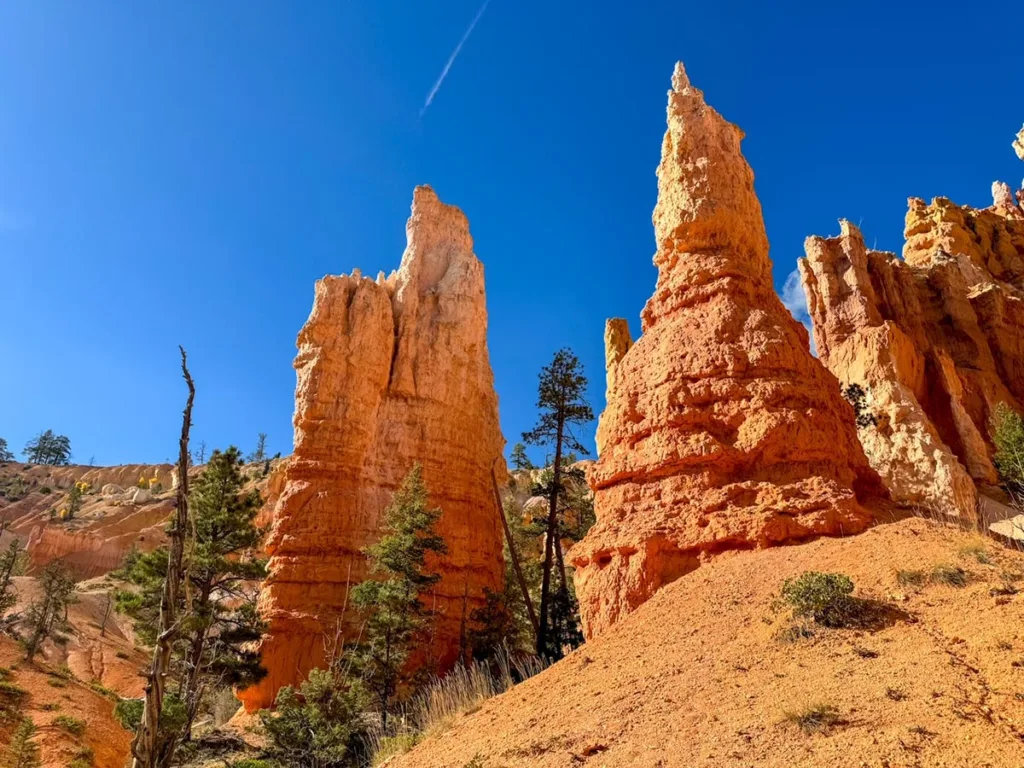
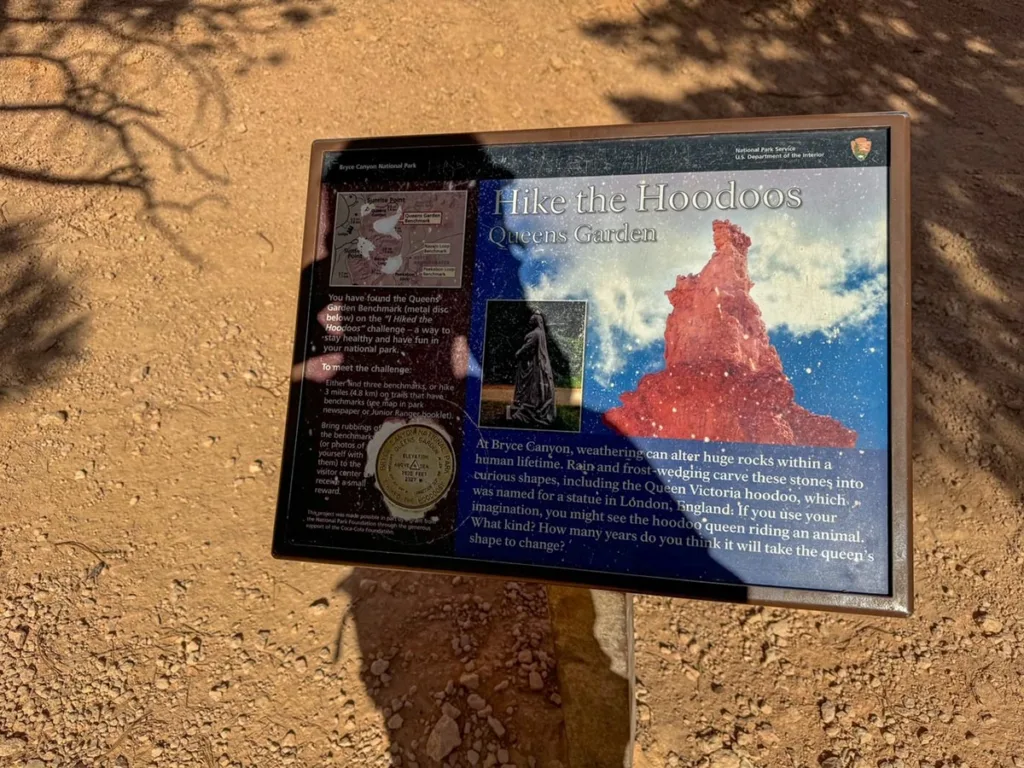
The trail here now actually moves pretty fast I found. You’ll have some towering pillars on each side of you and some pretty lovely hoodoos. This area also felt more shaded than other parts of the trail.

After about 0.8 miles you’ll come to the intersection for the Queens and Navajo Loop. There’s a bench here as well for anyone wanting to take a break.
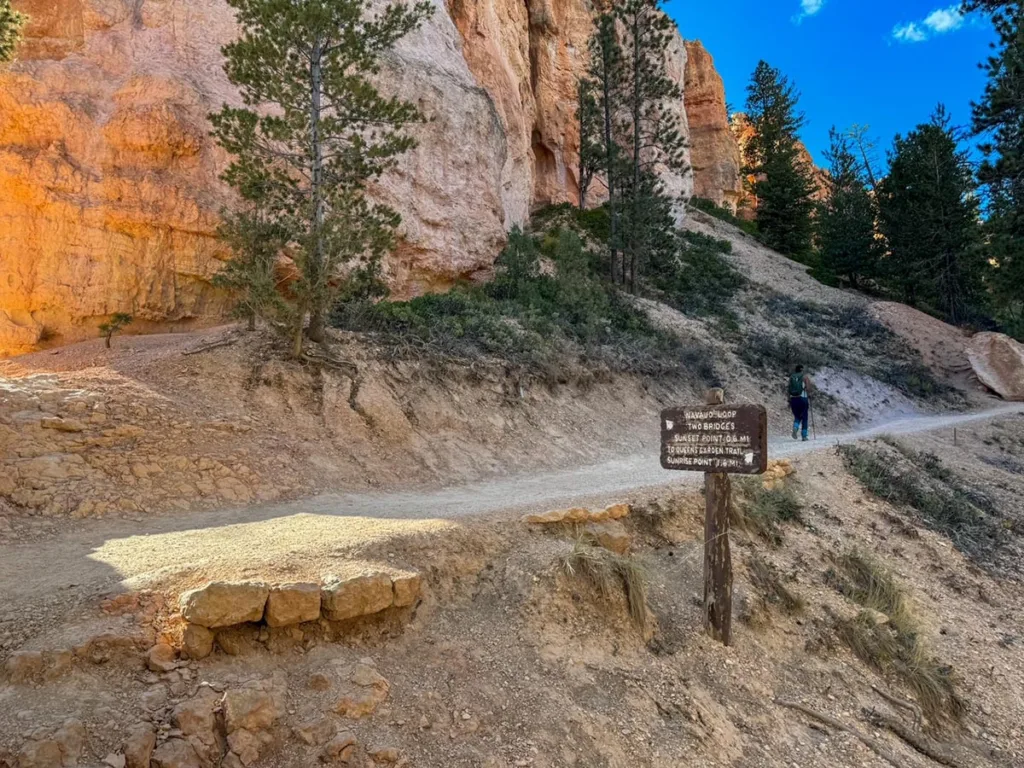
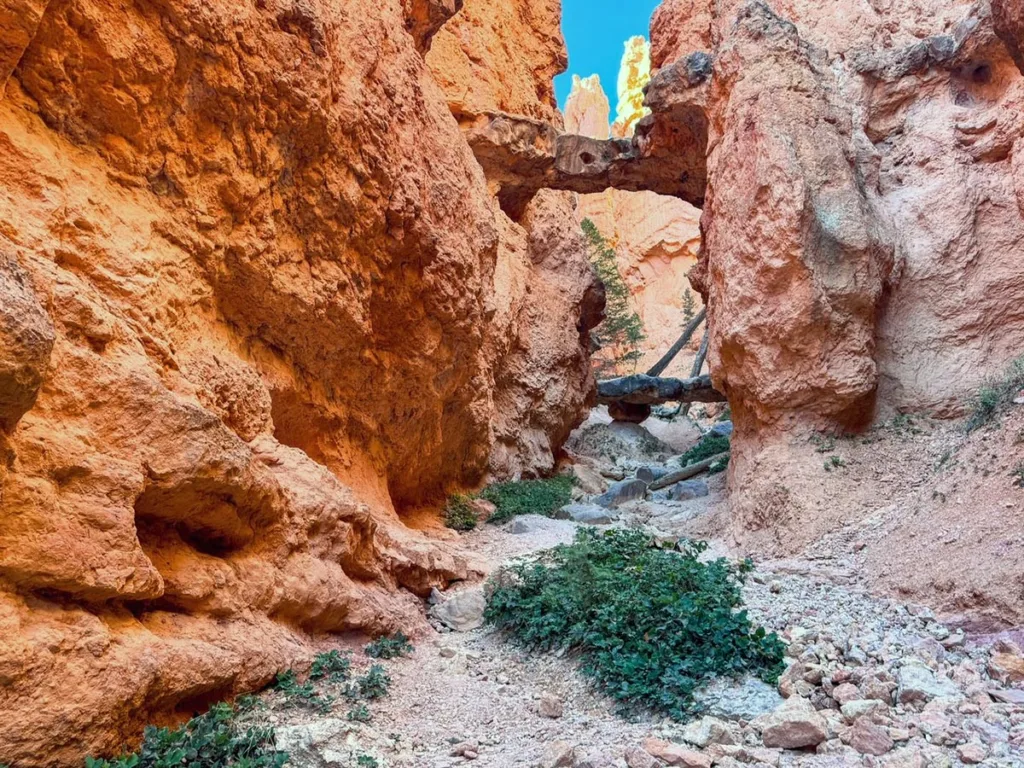
The trail will be ascending here more and head up the trail about 0.2 miles to catch views of the two bridges on your right. There is a very small little spur here for you to get closer to the bridge.
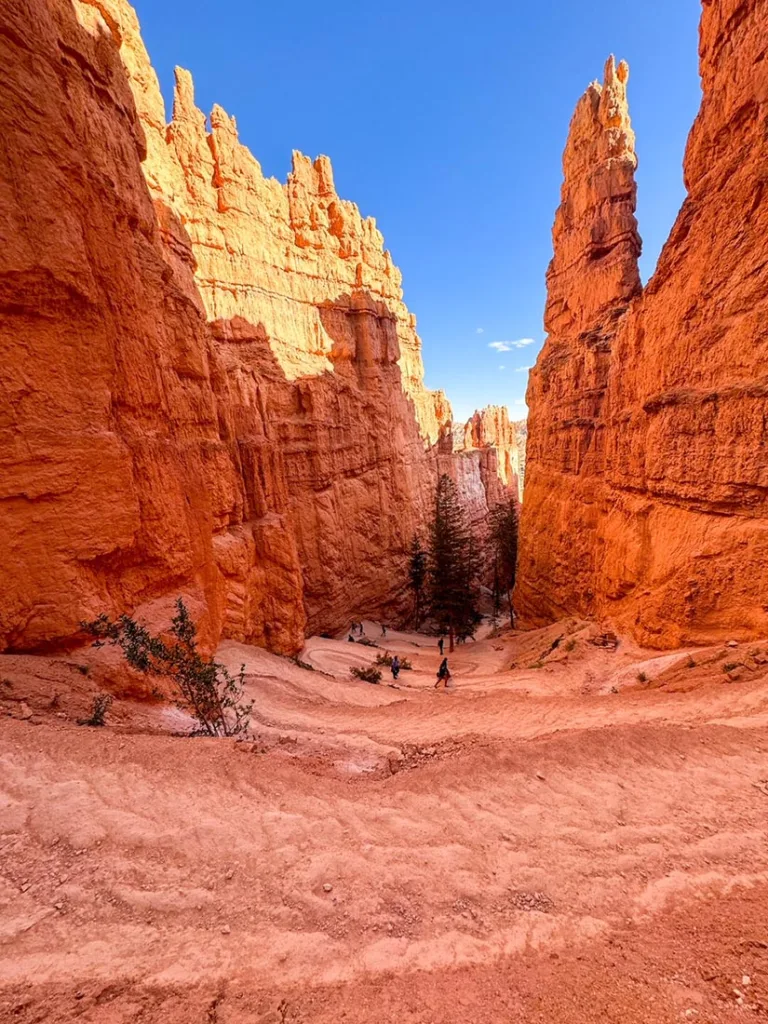
About another 0.1 miles up you’ll hit the toughest part of the hike. This is a set of quick switchbacks that will rise up the canyon. For many like myself I think it’s easier going up, as it’s better on the knees. Which is why I went clockwise.
After the switchbacks you’ll go about another 0.3 miles before the intersection with Wall Street. Sadly wall street was closed when I visited due to damage to the trail from rain that caused rockslides. Be sure to also look for Thor’s Hammer to your right!
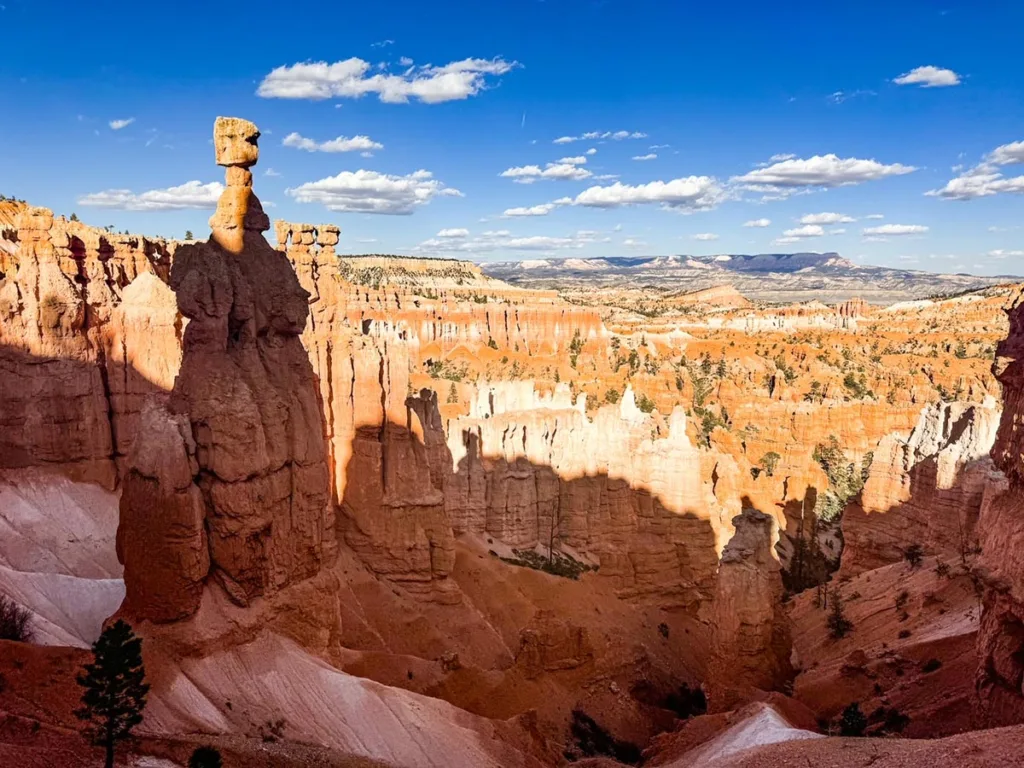
You’ll continue another 0.1 miles up the trail. It ascends but it’s pretty steady until you reach the top of Sunset Point.
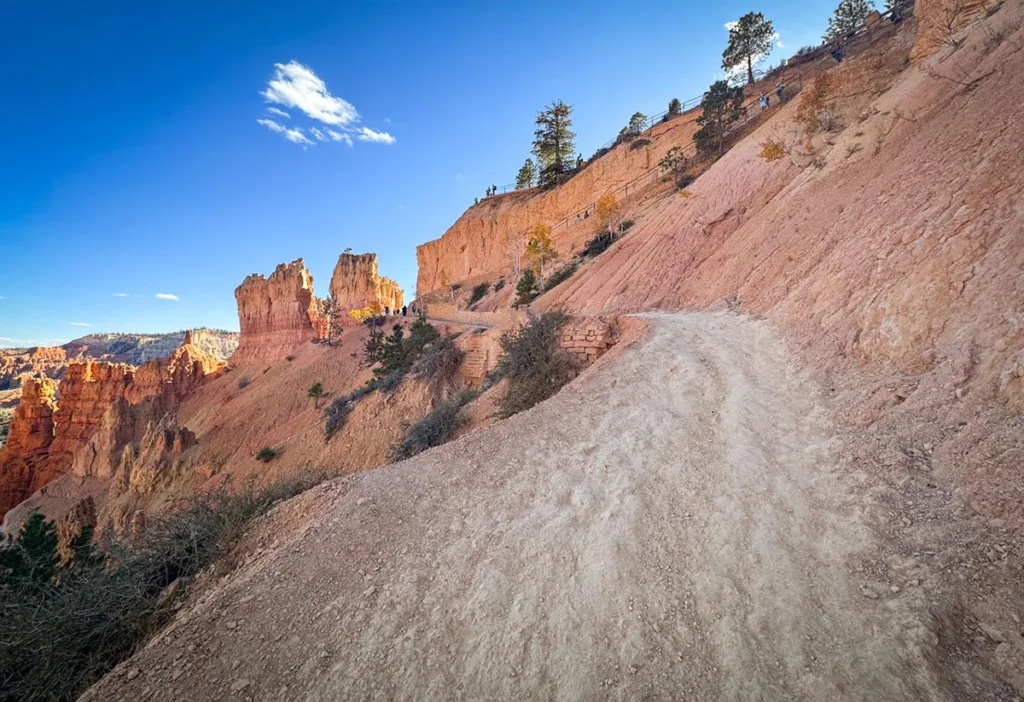
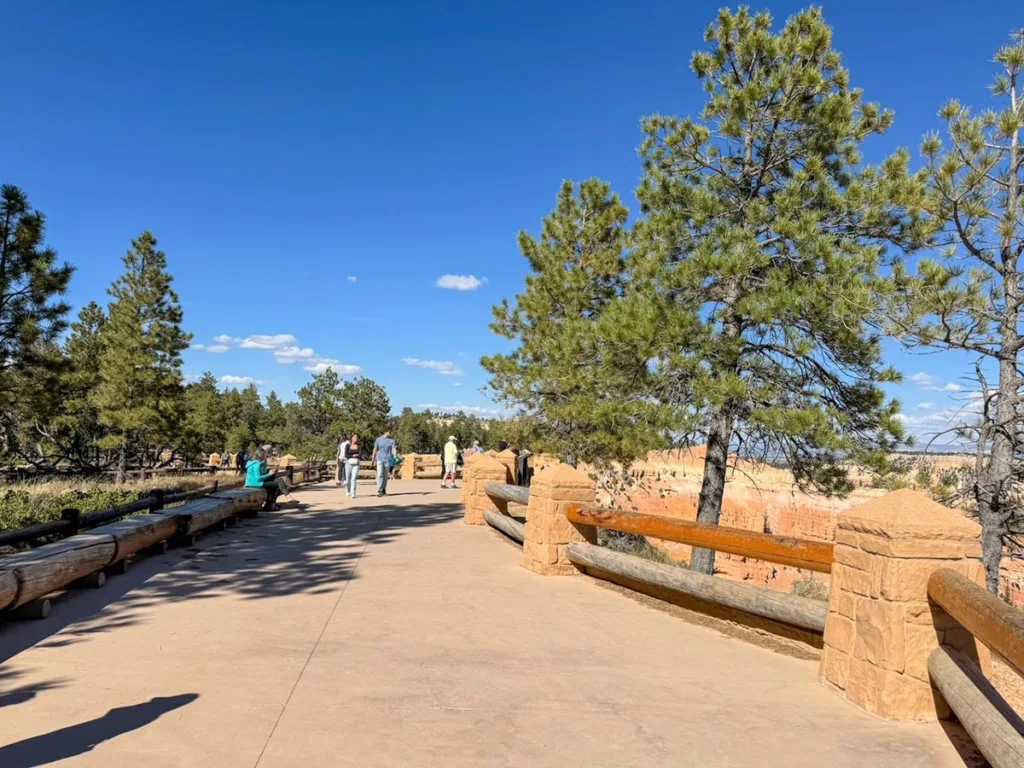
From here you just need to take the last 0.3 miles along an easy portion of the rim trail to get back to Sunrise Point. And that’s it.
Tips & FAQs
- If you have bad knees. You should go clockwise. Descending from the sunset side will definitely be harder on the knees.
- Stay on Trail. There were far too many people wandering off trail to get closer photos. Doing this accelerates erosion of the area. Do not and help protect these important places.
- Bring Sunscreen and Water. That’s probably a good rule everywhere. But the trail is pretty sun exposed so you’ll want sunscreen.
- Shoes. I don’t think special hiking boots or hiking shoes are needed. I wouldn’t wear flip flops but I think you can get by with regular sneakers.
Other Posts You May Like
- UTAH: Taylor Creek Trail [Middle Fork] : Zion National Park
- UTAH: Delicate Arch Hike Guide – Arches National Park
- UTAH: Completing the Hickman Bridge Hike – Capitol Reef National Park
- NEVADA: Alpine Lake, Bristlecone & Glacier Trails – Great Basin National Park
- ARIZONA: 15 Amazing Things to Do in Petrified Forest National Park
- IDAHO: Guide to Craters of the Moon National Monument & Preserve
Leave a Reply