One of the most “dangerous” hikes in America, the Angel’s Landing Hike is also one of the country’s most searched for and popular trails. The Hike is the one most folks who visit Zion National Park want to complete during their visit to the park.
Getting to do it and do it successfully takes planning. From permits to equipment to timing, there’s several things you need to pay attention to. We are here though to help make it as easy as possible. Read along for how to do the Angel’s Landing Hike.
Table of Contents
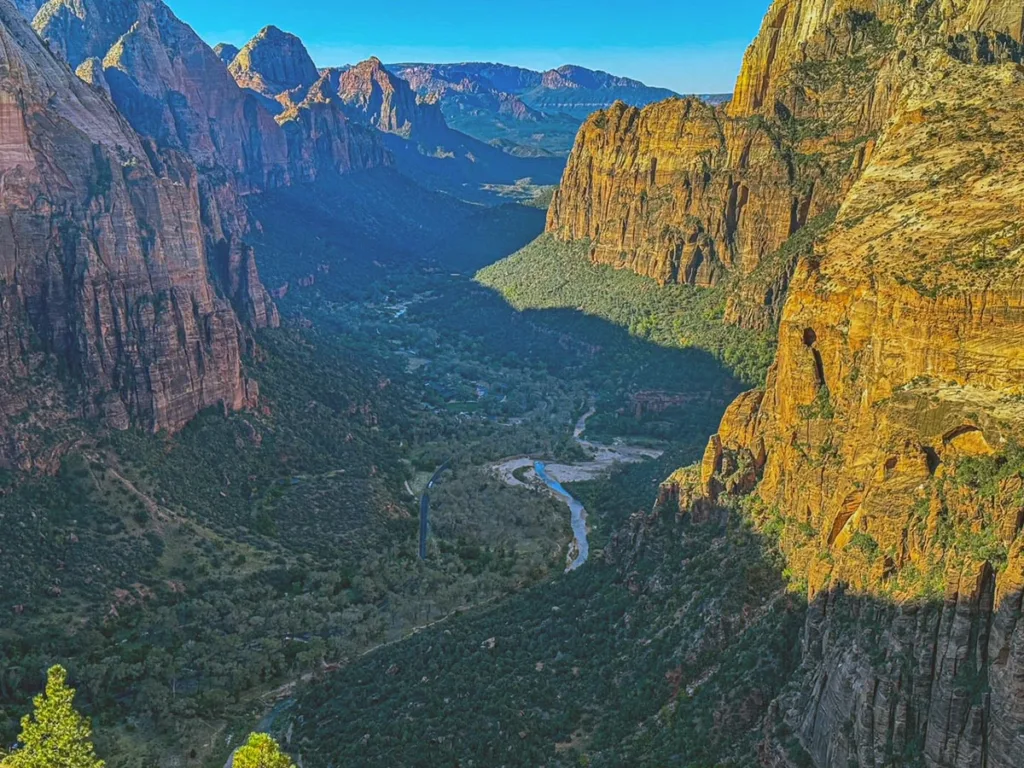
About the Angel’s Landing Hike
Distance: 5.4 miles | Type: Out & Back | Avg. Time: 2-3 hours | Difficulty: Challenging | Dog Friendly: No
The hike to Angel’s Landing is one of the most iconic trails in all of the National Park System. The hike is 2.7 miles one way from the canyon road rising about 1,500 ft to the pinnacle of angel’s landing.
The first part of the hike is relatively moderate. For the 2.1 miles you’ll be hiking along the west rim trail, which is paved, wide, and easy to traverse. From here, you’ll hike along the river, into refrigerator canyon, up along the quick switchbacks of “Walter’s Wiggles” and then end at the beautiful view of Scout’s Landing.
From here is where the “fun” begins. Or at least where the reputation of Angel’s landing. The trail will rise 0.6 miles along a knife’s edge ridge of the mountain ahead of you. To assist you there are chains along the path to protect you and help you climb the rocks. The trickiest part is the path is narrow and two ways. You’ll be coming back along this trail on your return trip as well.
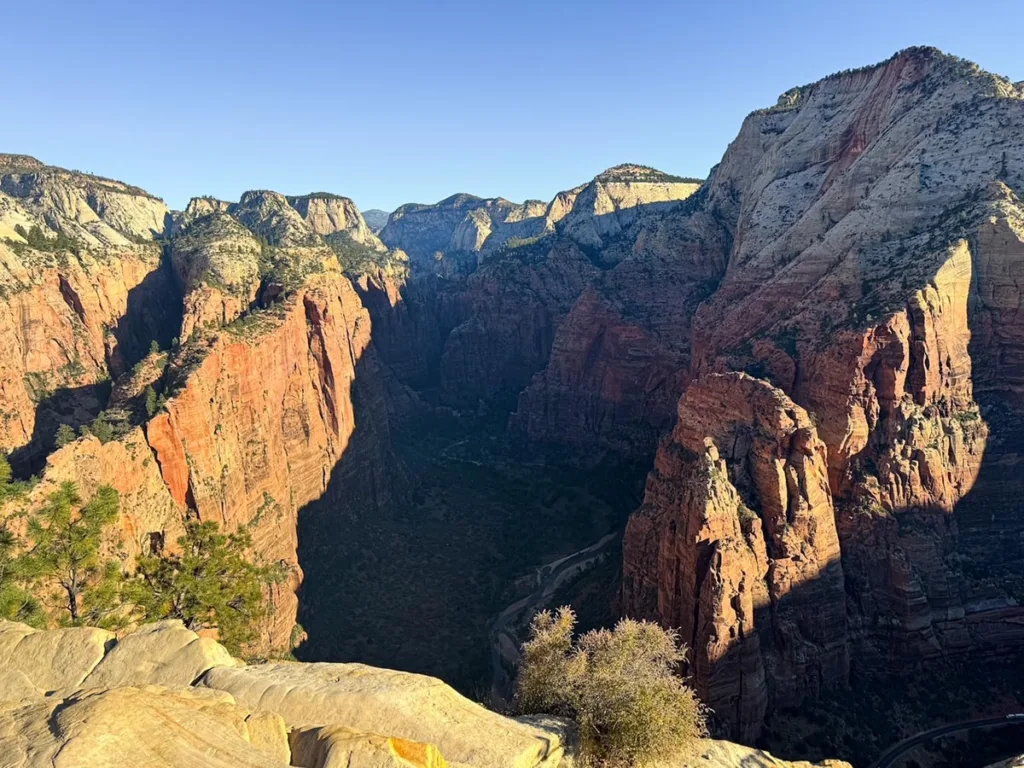
But for those who brave the climb, you’ll be rewarded with some incredible views of Zion Canyon. And of course bragging rights.
NOTE: The hike to Scout’s Landing is open to everyone. From Scout’s Landing to Angel’s Landing you are required to have a permit for the hike. Permit’s are obtained via a lottery (described below). You may be checked in either direction on Angel’s landing, so be sure to have it on you.
Angel’s Landing Permit System
Lottery Sites: Spring | Summer | Fall | Winter
Introduced in 2022, the Angel’s Landing Lottery System was instituted to deal with the issue of overcrowding.
It seemed that in particular Covid had an impact both on the issue of crowds as well as the desire of folks to complete this hike. I even heard that folks were waiting hours for the ability to climb the chains portion.
How the Lottery Works:
There are actually two options for the lottery, the seasonal lottery and the daily lottery. The seasonal lottery.
NOTE: Permits are only available ahead of time. No permits for Angel’s Landing are available same-day. Hiking without a permit could result in a hefty fine.
Seasonal Lottery
For the seasonal lottery, hikes are split up into 3 month periods of times. The lottery opens 2 months prior to the first month of the permit period and you have 20 days to apply and you’ll find out on the 25th of that month. See. Below
Lottery Fees:
- $6 non-refundable application fee
- $3 per/person permit fee
You have up to 48 hrs. prior to your hike to cancel. You’ll receive a refund for the per person fee.
| Hike Dates | Lottery Opens [8 am MT] | Lottery Closes [11:59 pm MT] | Results |
| March 1 to May 31 | January 1 | January 20 | January 25 |
| June 1 to Aug. 31 | April 1 | April 20 | April 25 |
| Sept. 1 to Nov. 30 | July 1 | July 20 | July 25 |
| Dec. 1 to Feb. 28/29 | October 1 | October 20 | October 25 |
You can choose up to 7 options for the lottery. This includes both any date within the lottery period as well as a time frame.
Timeframe Options:
- Before 9 AM
- Between 9 AM and 12 PM
- After 12 PM
You can have up to 6 persons (including the person applying) for inclusion on a permit. The name on the permit must match the ID of a person on the hike.
Daily Lottery
Note: The daily lottery uses the same sites as the seasonal lottery. The daily option is only available within the particular season.
The daily lottery allows folks who don’t have a seasonal reservation to enter for a chance to win a permit for the next day. The lottery is open only until 3pm MT so be sure to get your application in early.
You can select options for any or all of the 3 timeranges for the particular day’s hikes. Oddly they give you the option up to 7 selections. But really only need 3 unless I guess you would consider shrinking your group size to increase odds.
For times you have the options of:
- Before 9 AM
- Between 9 AM and 12 PM
- After 12 PM
You can have up to 6 persons (including the person applying) for inclusion on a permit. The name on the permit must match the ID of a person on the hike.
NOTE: You will automatically be charged for each person on the permit when it is issued. You cannot cancel this reservation for a refund.
What date / time should you choose?
In my opinion, before 9am is the best option for a hike. The later in the day you go, not only will you generally have to contend with hotter temperatures, you’ll also have to contend with larger crowds.
My most recent trip my friends grumbled at the early time, but they all agreed after that before 9am was the right choice.
For those who can, picking weekdays will generally increase your chances as far fewer folks have those dates available. If you are limited in a period of time, you’ll increase your chance by selection multiple times on the same date. But you could also by doing this reduce the opportunity to be selected if it’s a very popular date.
What to Do if You Cannot Get a Permit?
First, DO NOT Hike up to Angel’s Landing without a permit in hand. It’s not worth the risk to sneak up as you can still be caught on your way back down (or may be asked at the summit as well).
I’ve had luck on occasion at several national parks permit-less. Often just asking around if someone has a spare spot on their permit can often lead to getting included. This happened to me at several places where I missed the cut-off and just asked.
Since you can hike up as far as Scout’s Landing you can also ask up until there. What I saw at the Angel’s Landing section is that a lot of people chickened out once they viewed it from Scout’s Landing. This increases the opportunity to see if anyone minds you joining along.
Regardless, I think hiking to Scout’s Landing is great even if you cannot continue to Angel’s Landing.
Angel’s Landing Trailhead & Parking
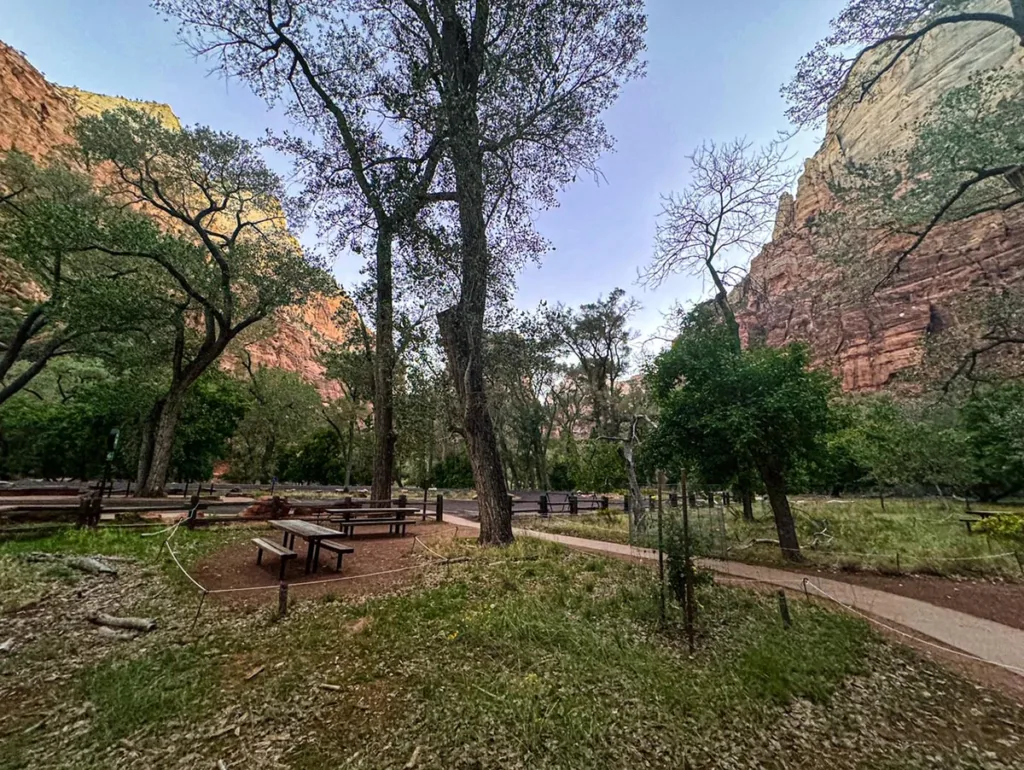
The trailhead for the Angel’s Landing Hike is located at Shuttle Stop 6: The Grotto. The bus will drop you off close to the bathrooms and water fountains. The actual trailhead starts across the street from where you are dropped off. You MUST take the Zion shuttle during any dates when the shuttle is operating.
The parking for the shuttle bus is located at the Visitor’s Center in Springdale. We recommend arriving early in the day if possible as parking at the visitor center is limited. There is additional parking in Springdale, however much of that is paid and some pretty pricey!
Be sure to get water if you need to fill-up as there is no water available later on the hike. There are bathrooms available at Scouts Landing however.
How Scary is Angel’s Landing?
This is obviously very subjective to the person. We recommend if you are unsure to hike up to Scout’s Landing and have a look at the hike and see how you are feeling about it. If you have extreme fears of heights it’s likely not the hike for you.
For me, I think the hike looked WAY more intimidating than it actually was on the climb and descent. I was way more nervous on the descent from Angel’s Landing. My friends and I think the early part of the angel’s landing portion was the scariest where there were limited chains and still drops.
You can also try to go a portion of the hike and see how you feel. You will go back the same way you ascend anyway. I didn’t feel the hike got any scarier as we went along and tended to remain about the same in terms of difficulty.
You should also consider the weather in your hike. Snow, Ice, Rain will all make the hike more difficult and dangerous.
Also this is another reason to go early. Crowds make this hike scarier and more difficult. Trying to get to the peak early limits how many folks will be going in the opposite direction of you.
What to Pack for Angel’s Landing?
- Permit. Be sure to screenshot or print your recreation.gov permit.
- Water. You should pack at least 2 or more liters of water. There is no water available on the hike after the Grotto. The National Park recommends at least 3-4 liters. I think only you know how much you drink.
- Shoes. The trail is rocky and slick. I recommend good hiking boots or shoes. In particular ones with good traction as you’ll be going up some slick rocks.
- Sunscreen. The hike has very limited shade in places. It’s a pretty intense sun in these parts.
- Snacks. Having a nice bite up at the summit was the highlight of the hike. It’s a nice spot with great views. Having a sandwich up there was fun.
- Layers. The desert landscape means that the temperature fluctuates a lot between early morning and late day.
- Colder weather. Gloves are a handy thing to have in colder weather. Especially with the chains.
- For Winter. Extra traction devices such as micro spikes.
What about Trekking Poles?
These days, with knee problems I generally do longer hikes with trekking poles. However, for this hike, poles are more of a hindrance than a help. Not for the scout’s landing part, but for the angel’s landing chain section. You don’t want anything in your hands so if you can secure them well on your pack you can bring them but otherwise consider leaving them.
Overall the scout’s landing part is paved, so you won’t be hiking over rocks or other unstable areas. I think it would help some but certainly not necessary for this hike.

Best Time to Do the Angel’s Landing Hike
In terms of time of day, early or late is the best in terms of crowds. In my opinion early is better. If you can get the first shuttle from the Visitor Center that is ideal. I would recommend parking at least an hour before the shuttle time (depending on day/season). Later in the day you’ll have difficulty finding parking at the visitor center (and probably even in town).
For seasons, fall is my favorite time to do this hike. Not only do you get some great fall colors, but you’ll have opportunities for better weather as well. October in particular is known for good weather and is outside of monsoon season. Additionally, crowds may be more manageable with schools back in session.
Spring in the park can be great or tough. Depending on the winter you may still have snow and runoffs in the area. There’s also a good chance of rain during this season as well.
Summers in Zion National Park are known to be very hot. You’ll be experiencing very high temperatures and little shade on the hike. Additionally late summer in Utah is monsoon season. So you’ll also have to contend with potentially heavy rain.
Winters in Zion and in Utah in general can be snowy and cold. Expect cold temperatures and short days, but also lower crowds. Unless you are here during the holiday season, crowds fall off considerably during the winter. You may even be able to drive to the trailhead!
Winter can also bring snow and ice. This can make an already difficult hike treacherous. Snow and ice on the trail makes the hike very slick and difficult (and honestly less enjoyable). We recommend wearing gloves (especially for the chains) and carrying micro-spikes.
The Angel’s Landing Hike
There are actually several ways to get to scout’s landing, but for this hike and guide we’ll start where most start at Stop 6 [The Grotto] for the shuttle bus. Here you’ll see a set of bathrooms with water fountains.
From where you are dropped off, head across the main street to reach the trailhead. You’ll see the virgin river as you cross a small bridge for the hike. You’ll be on the west rim trail for this portion of the hike.
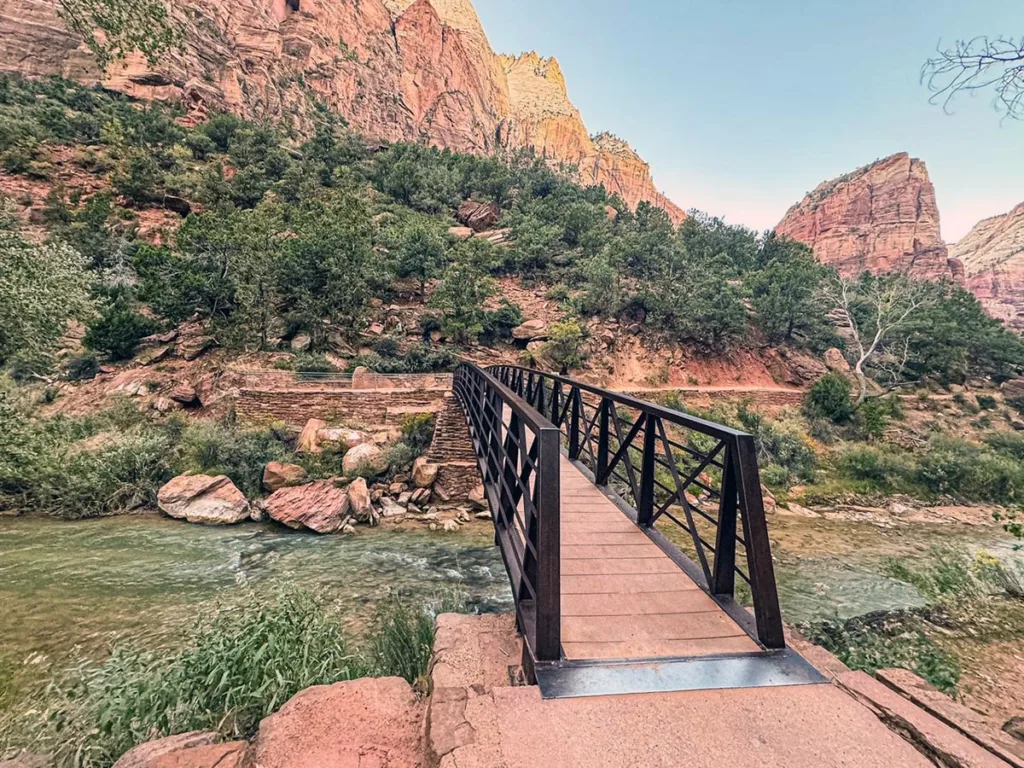
The trail will hug the river for a short time before starting to ascend. One thing I noticed is that clearly this trail was paved. It’s in a somewhat rough shape which makes me think the plan is to not fix the pavement but let it deteriorate back to a rocky trail. You’ll be heading towards the canyon in the distance.
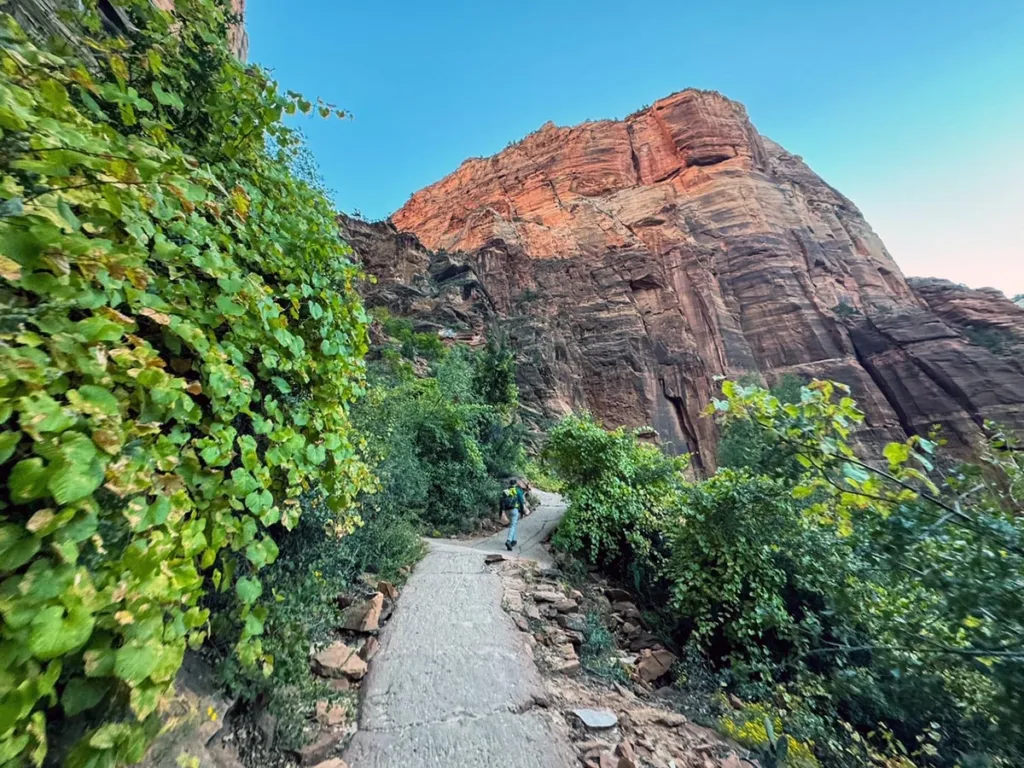
At about 1.1 miles you’ll cross another bridge. This will lead you towards the canyon.
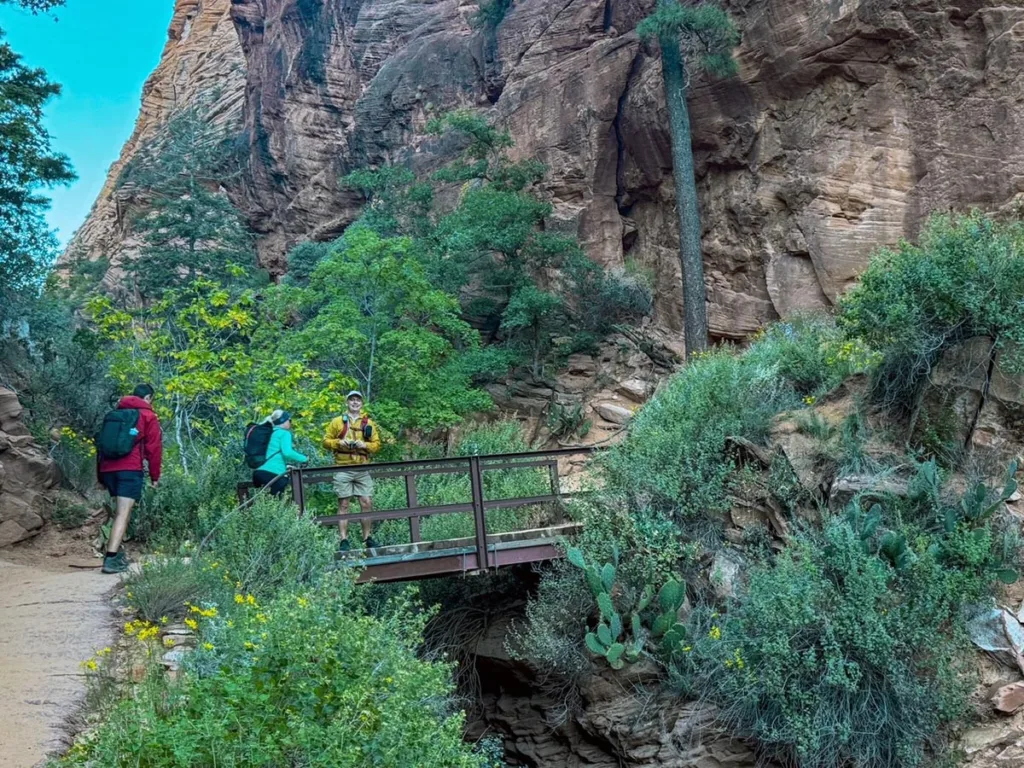
The canyon is one of my favorite shaded areas of the hike. I believe this is what they call refrigerator canyon (but if not please do correct me). One thing I noticed is they ask you to be quiet in this area due to the nesting of Mexican Spotted Owls. We did not see any. The only wildlife we saw on the hike were a few deer.

At about 1.5 miles you’ll reach the next set of switchbacks. These ones are a very quick set that rise up the canyon area here. These are the ones that are referred to as Walter’s wiggles. Named for the first administrator of the park. Clever name too.

This is probably the hardest part of the lower hike and honestly it’s not too bad. You’ll continue on the trail for about another 0.5 miles to the top of the first part of the trail; Scout’s Lookout.
Here is a good spot to take in the views and even use the restroom if you need to. You’ll see the restrooms slightly up the hill behind you.
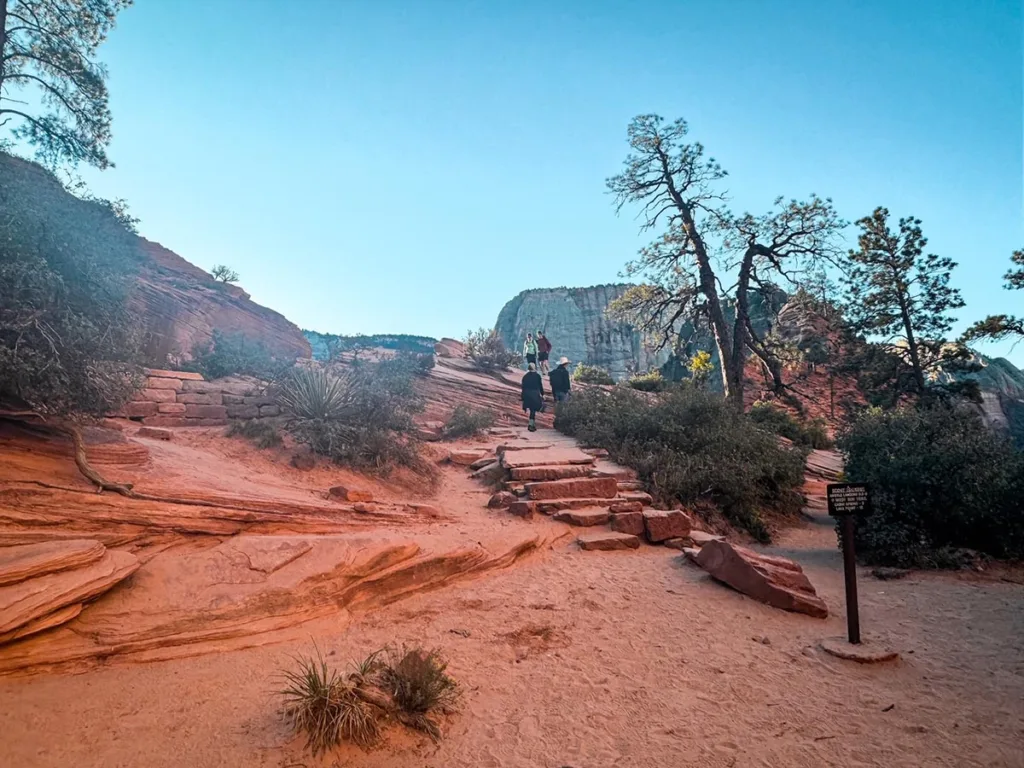
From here is where you’ll need to have your permit. Following the Scout’s Landing lookout, you’ll see a trailhead and sign for Angel’s landing. Beyond this point is when you can have your permit checked at any point.
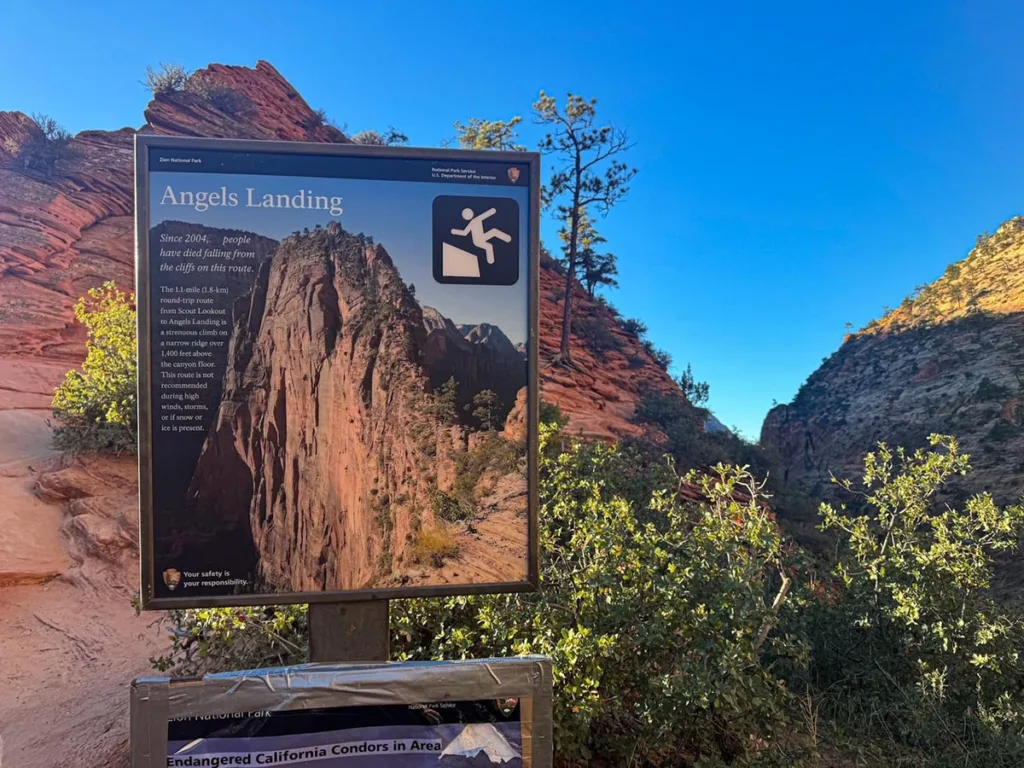
But from here take a look along the trail and the knife-edge of the peak in the near distance. THIS is the hike you’ll be doing. From here, you’ll have a few very narrow spots, albeit many with chains. If you are terrified of heights you may want to reconsider continuing the hike.
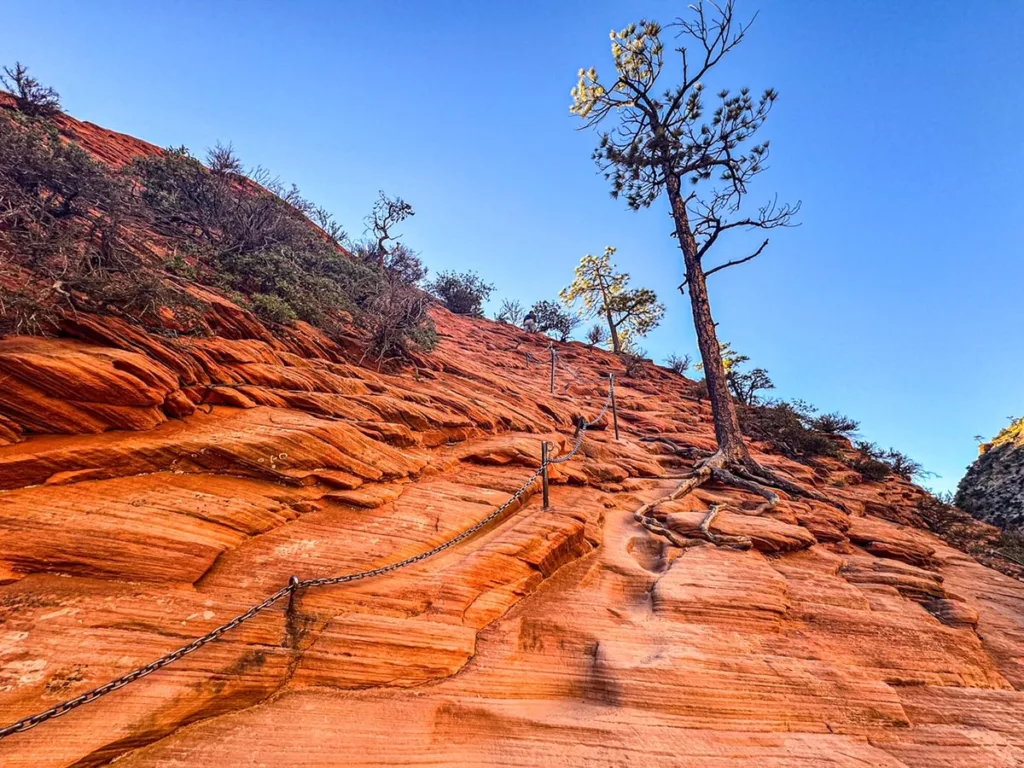
There are a few tricky spots along this, but always try to keep to the areas with the chains. This will show you the best way up. Take it slow and see how you feel. Overall, I think it remains a steady difficulty as you ascend. I kept waiting for something really tough to occur along the hike but no it was pretty consistent.
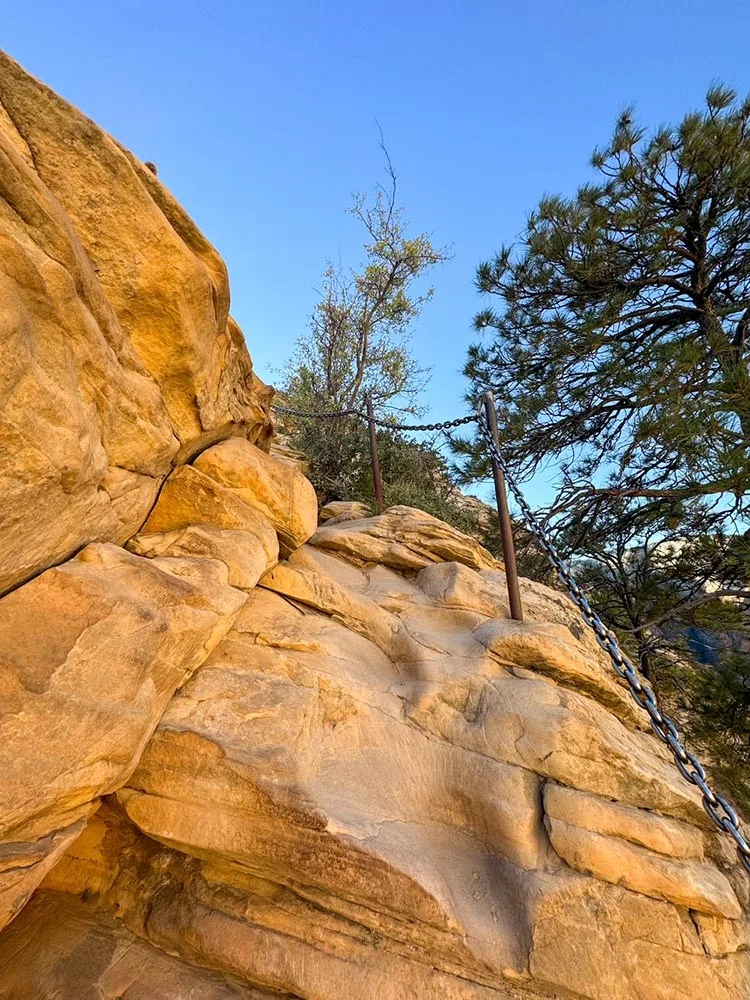
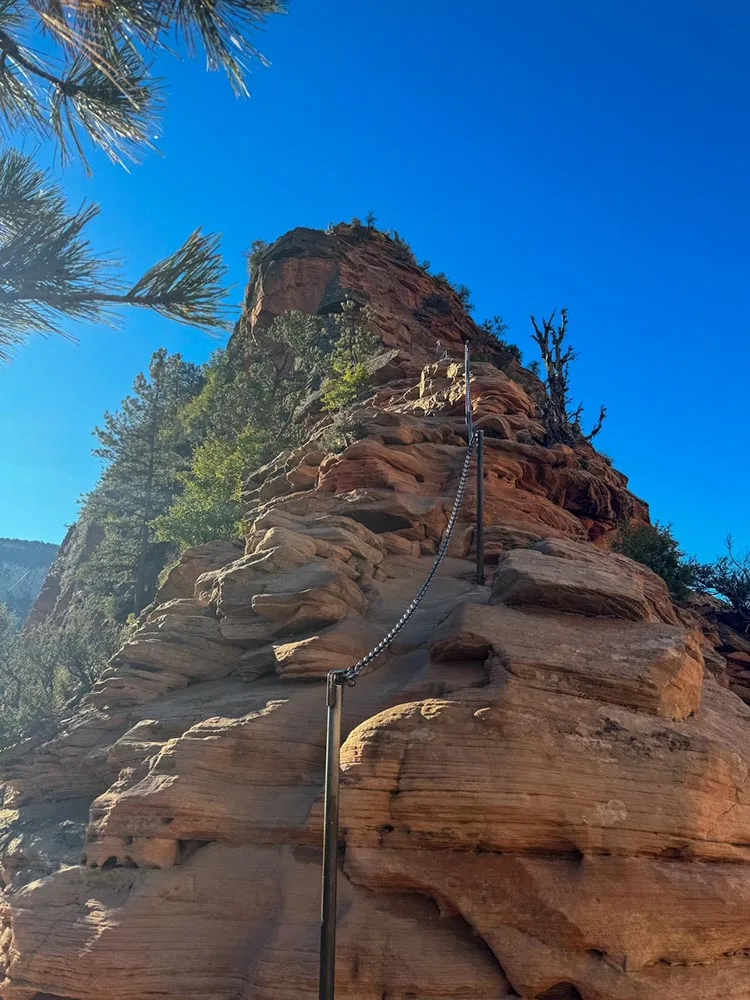
After about 0.5 miles of climbing this chain area, you’ll get to the summit of Angel’s Landing. This area is a nice long area that you can wander around and find some good seating and views. Be sure to check out the views in every direction. I did have some issues with way too much direct sun for some of the best photos.

And that’s it. When you are ready, return back down the chains the way you went up. The only thing I can say is if you get up early, you may want to prioritize getting back down to avoid the hoards of people yet to come.
We were actually really lucky here. We took the first shuttle to the trail and while we took our time and stopped a lot, we got up in a reasonable time. We were up at the peak around 9am and spent about 45 minutes at the summit.
Heading down around 10am we started to really see larger groups of folks coming up the trail. We thankfully didn’t hit too many of those groups until we were nearly back at Scout’s Landing and then really it was wall to wall folks.
Once you are past the chains the crowds aren’t too hard to get around, the trail is wider and not as precarious.
Tips & FAQs
- Go Early. Not Only will this help with limited parking it will also avoid the worst of the crowds.
- Bring extra water. Especially if it’s a hot day. There is no water available after the trailhead.
- Wear grippy shoes. A good boot or hiking shoe (in particular one for scrambling) is handy for the chain area of the hike.
- Don’t psych yourself out. I really psyched myself out reading reviews and information. It definitely was scarier looking than hiking.
- Screenshot your permit and share it with your group. You won’t have internet access. And if your photo has an issue your group members can pull it up too.
- Consider leaving your trekking poles. While it would be helpful at the start, the poles would be in the way during the chain climb.
Other Posts you May Like
- UTAH: Guide to Mesa Arch Hike: Canyonlands National Park
- UTAH: Delicate Arch Hike Guide: Arches National Park
- UTAH: Canyon Overlook Trail: Zion National Park
- UTAH: How to Hike the Grand Wash Trail: Capitol Reef National Park
- COLORADO: Cliff Dwelling Tours Info: Mesa Verde National Park
- NEVADA: Guide to Lehman Cave Tours – Great Basin National Park
Leave a Reply