Someone randomly mentioned the Hanging Lake Trail to me and once I looked it up I knew I had to visit. What I didn’t realize is how beautiful it is in person and how popular too. We help you break down how to book your permit, getting there, and having the best hike on the trail as well.

About the Hanging Lake Trail
Distance: 3 miles | Type: Out & Back | Avg. Time: 2 hours | Difficulty: Moderate | Dog Friendly: No
The Hanging Lake Trail is a very popular hike in the Glenwood Springs region of Colorado. The hike takes visitors to two beautiful spots, Hanging Lake and Spouting Rock. Both of these sites are close to one another at the end of the trail so you’ll be able to see both easily.
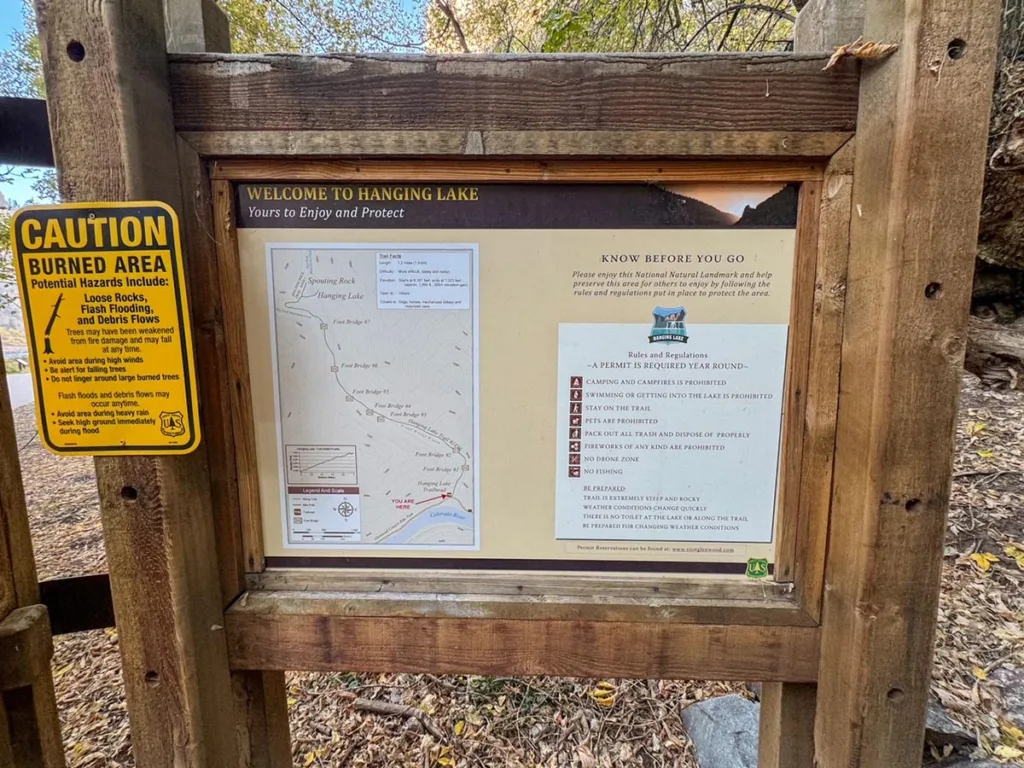
The trail is so popular that they introduced a reservation system to deal with the crowds. You’ll need to go online and reserve for each hiker in your vehicle a time-slot to arrive for the hike.
The hike itself is moderate, about ⅓ or the hike distance above is on a flat paved road (½ mile each way on the bike path). The actual trail is about 1 mile up and is pretty steep and rocky.
The hike is pretty quick to complete for most people. They do request though that you spend no more than 3.5 hours in total at the hanging lake site due to limited parking. I think for most people it’s pretty reasonable. The sites are beautiful, but there is not much you are able to do at either the lake or waterfall.
Hanging Lake Permit & Reservation
Website: Hanging Lake Reservations
The Hanging Lake hike requires a permit year-round to access the hike. This permit also includes parking for your vehicle as well.
- May 1 – Oct 31: $12 (per/person)
- Nov 1 – Feb 28/29: $10 (per/person)
The site often closes in the spring due to high spring run-offs.
You must have a personal vehicle at the site according to the rules (this is in event of evacuation). Therefore you can’t take an uber or bike to the location of the hike.
For those who need to reschedule, you must do so more than 48 hours prior to your reservation (you cannot cancel/reschedule after or at least not get your money back).
No pets are allowed on the trail (including ESAs), you also cannot keep your pet in your vehicle during your hike either. They have boarding suggestions on the reservation site.

Hanging Lake Trailhead & Parking
The Hanging Lake Trailhead and Parking is located off Exit 125 on I-70.
The exit is only located east-bound and so if you are heading west-bound you’ll need to make a U-turn (usually Exit 121 Grizzly Creek) for the exit.
Access to the parking is only available via reservation (see above). And you must arrive between 15 minutes before and 15 minutes after your reservation time.
For those planning to go, earlier is better for parking. My reservation was at 9am in October and still had pretty decent options for parking.
The trail starts about 0.5 miles down the bike path on your left. You’ll see a bridge and the trail will be on the left before the bridge (if you cross the bridge you’ve gone too far).
Best Time to Do the Hike
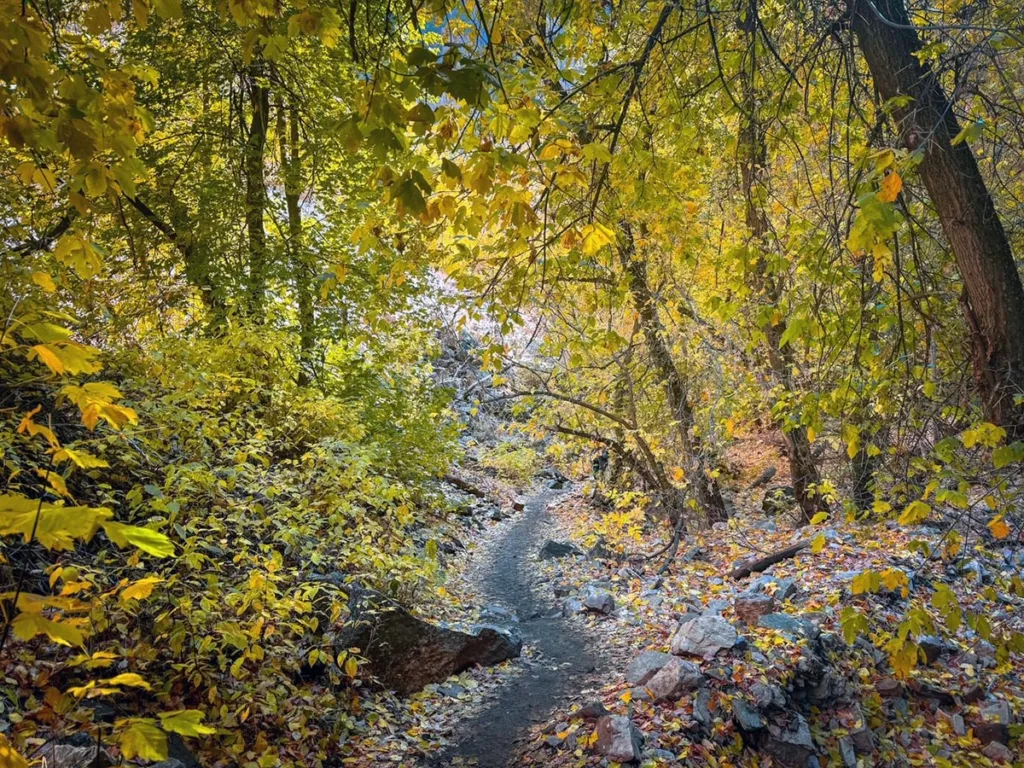
In my opinion fall is the best time to go for the Hanging Lake Trail. You’ll have some wonderful fall colors along the trail which will really enhance the experience. The temperatures tend to be cool but not overly cold. I especially felt pretty warm once I started hiking.

Summer is a very popular time for the hike. Schools being out of session and tourists to the Glenwood Springs area. Due to the higher elevations summer is a great time temperature and weather wise for the hike.
Winters can be a good time to go with lower crowds. However, snow and ice can make the trail way more difficult. It is a pretty rocky trail in parts so you’ll need extra precaution. If you come in winter we suggest bringing micro-spikes for the hike.
The Hanging Lake Hike
You’ll start the hike at the far end of the parking lot area. You’ll see a building on the left that includes water as well as restroom facilities. We recommend you take advantage of these as there are no options later on the hike.

The first ½ mile of the hike is along the paved bike trail through the area. You’ll see a few interpretive signs, possibly the train passing on your right, and views of the area. Continue on this trail until you come across a bridge (but do not cross). You’ll see the entrance to the gate of the trail on your left.

The trail ascends pretty quickly here along a rocky path. The trail overall is pretty steadily rising throughout the entire hike.

You’ll soon come to a bridge. There are a series of about 7 bridges along this trail as you cross back and forth along dead horse creek. While I took photos of every bridge I don’t think it helps with the hike guide.

Beyond that you’ll also see a series of mile markers. This one at ¼ of a mile is the first one and you’ll see one every ¼ mile after. This is a helpful way of knowing how far you’ve gone. Once you pass the 1 mile marker you’ll be close to the end.

As you approach the end you’ll see this cabin that was part of the heritage of the CCC that built these along with many of the trails through parks in the west. I do love seeing these points of history in the creation of some of my favorite places in America.

Following this you’ll come to the really last hard set of challenges. There’s a set of rocks you’ll need to go up at this point in the trail. Some are part of a staircase with railings and some not. But it definitely requires some climbing in this part. Although they’ve done a good job in making them accessible.

And then at this point you’ll reach an intersection. On the left the trail goes up 200 yards to the Spouting Rock (a waterfall) and on the right the boardwalk leads you to Hanging Lake. You can do it in either direction.

I chose spouting rock first. The person in front me said hey this way looks harder lets do it first, and that seemed like good enough logic.
The waterfall at this time was really good. It was basically a split waterfall and really beautiful. You can even get behind the waterfall as I show from this photo.

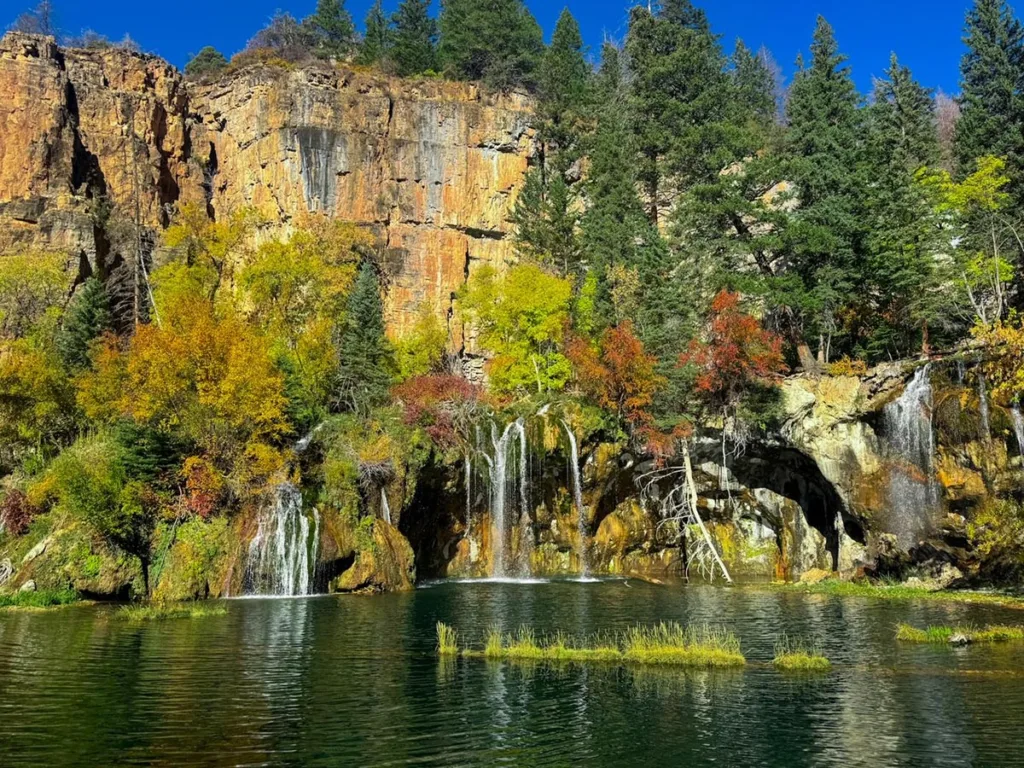
Afterwards I returned to the intersection and went right. Hanging Lake here is the main attraction of the site and it’s incredibly beautiful. A gorgeous lake with a set of waterfalls on the far side.
Note you can’t touch the water or otherwise disturb the area. You need to stay on the boardwalk. There’s a set of benches and a few viewing areas but that’s mainly it. Once you get your photos you can head back down the trail you came to the parking area.

I didn’t feel the need personally to stay long, but if you want to stay longer. Please limit your entire time (including hike, etc), to 3.5 hours. They really are concerned with parking spot turnover so that others can enjoy the site as well.
Tips & FAQs
- Reservations can fill up fast. Don’t wait on booking your dates. Generally a few days to a week ahead of time is sufficient. You’ll often find “some” slot available a day or so ahead but if you want a particular slot I think a week ahead is usually good.
- Go Early. I think that’s my opinion for most hikes. But ones like this with limited parking makes it easier for crowds and parking to get one of the earlier time slots.
- Plan ahead with your pets. You cannot take them on the hike nor leave them in your vehicle (even with pet-mode).
- Reservations are on a per-hiker basis.
- You must park a vehicle at the site. This is their rule for evacuation precautions.
- Pack-in / Pack-out everything. Leave the site as good or better than you found it. Please do not touch the water, lake, or other historic sites on the trail.
- I recommend good boots/hiking shoes and trekking poles. The area is rocky and uneven and they were very helpful for me on this hike (especially my knees!)
- Pack for various weather. Weather in the mountains is fickle. It can rain or even snow at random times. Layer up and be ready in case the weather shifts.
Other Posts You May Like
- COLORADO: Trail Through Time Hike – Grand Junction CO
- COLORADO: Otto’s Trail Hike – Colorado National Monument
- COLORADO: 22 Incredible Things to Do in Grand Junction Colorado
- COLORADO: Ultimate Guide: Sky Pond Hike – Rocky Mountain National Park
- UTAH: Canyon Overlook Trail: Zion National Park
- UTAH: Delicate Arch Hike Guide – Arches National Park
Leave a Reply