The Sky Pond Hike is one of the best trails in all of Rocky Mountain National Park. This hike includes some epic nature from several waterfalls (including one you climb), lakes, mountain views, forests, and more!
The hike reminded me a lot of some of my favorite hikes of Glacier, including Grinnell Glacier and the Highline trail. You’ll see why this hike consistently ranks among hikers favorites in the National Park.
So if you are interested, read-on to learn about the hike, where to park, and how to be sure you stay on travel, have fun, and hike within your ability.
About the Hike
Distance: 9 – 9.4 miles | Type: Out & Back | Avg. Time: 4-6 hours | Difficulty: Strenuous | Dog Friendly: No
Considered one of the best hikes in Rocky Mountain NP, it’s also one of my favorites as well! The Sky Pond hike is a pretty incredible hike with not only a great payoff but some epic views along the hike as well.
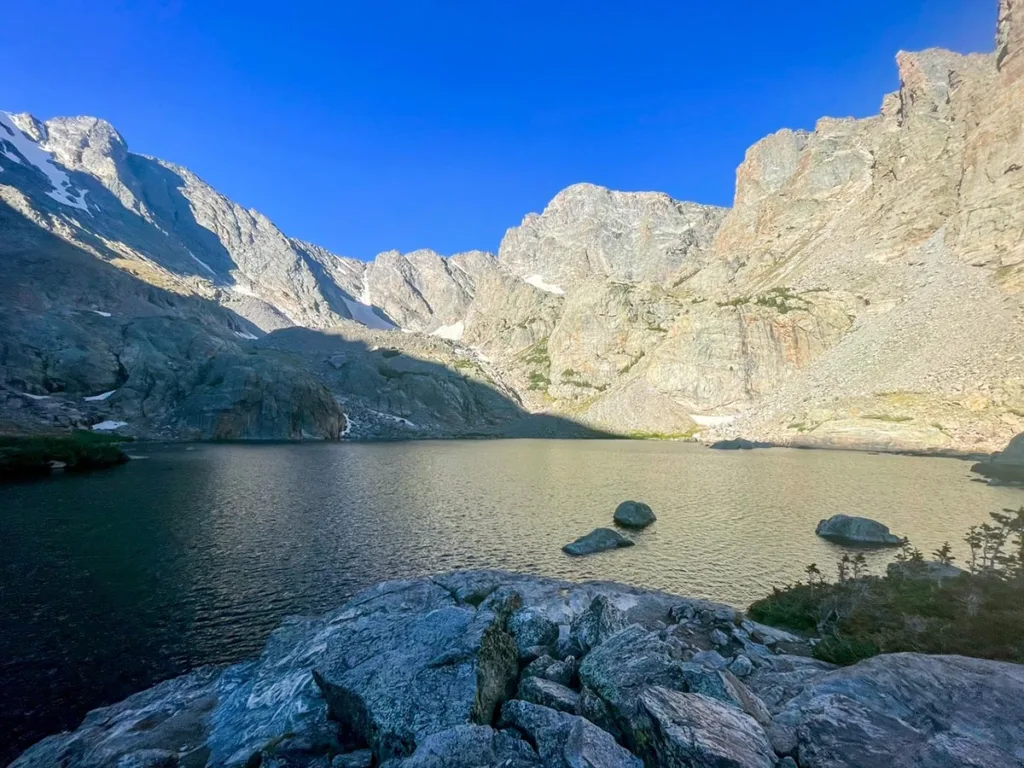
The hike takes to waterfalls, several lakes, incredible vistas, some tricky maneuvers, and a variety of trails both wooded and rocky. The payoff may be the beautiful peak lined sky-pond but by here I had seen so much that just amazed me on the journey.
The trail is an out & back hike, and is considered by most to be strenuous. The trail does start out pretty smooth and it really in my opinion only has one difficult aspect; the ascent of Timberline falls.
A common issue is folks mistakenly stopping at glass lake and not realizing that sky pond requires a little further travel. The trail is difficult to find after glass pond, but we’ll help you navigate this later in the post during the walk-through of the hike.
The hike is between 9 and 9.4 miles depending on which direction you travel. If you start from Bear Lake you have an additional 0.4 miles round trip added to your hike. It’s really not too significant as it’s an easy section.
NOTE: The hike begins at 9,170 ft and tops out at 10,876 ft. So be sure you are good with the altitude. We recommend making sure you’ve spent a few days at altitude before attempting the hike.
Sky Pond Trailhead & Parking
The trailhead for the Sky Pond trail is located in the Bear Lake area of Rocky Mountain National Park.

You can access this trail from two separate trailheads. The closest is located at the Glacier Gorge Junction Trailhead. The parking for this trailhead is quite small. If you don’t get here before 5:30 am, generally the parking lot is full (you can sometimes get lucky as late as 6am).
If you cannot park here, we recommend parking at the end of the road in the Bear Lake parking lot. This lot is far larger and generally fills up a bit later. But honestly, if you are here after 7:00 am it may be full as well.
Alternatively, you can park at the park & ride further up Bear Lake Road and across from Glacier Basin Campground. This lot has more spots and you’ll have the opportunity to take the shuttle to either the Glacier Gorge Junction or Bear Lake Parking.
Access to Bear Lake requires the Park Pass+ Timed Entry ticket. This also is necessary to park at the Park & Ride Lot described above. Otherwise you’ll need to access the lot via the Hiker Shuttle (also requires a reservation).
On the various days I was in the Bear Lake area, the parking for Glacier Gorge was full by 6am, with several times even earlier. The parking lot for Bear Lake was usually about ¼ to ½ full by 6am on each of the days.
Best Time to Do the Hike
The best time to do the Sky Pond hike is from July – September when the weather is the warmest in Rocky Mountain National Park.
Prior and after this the weather can be pretty cold and even snowy and icy. Even in June there is a high likelihood of snow and ice on the trail (and even snowfall this late). Coming in October the weather can often still be good, but there is the chance of colder temperatures and weather affecting the time.
Regardless, the weather even in the summer can be very unpredictable. Dress in layers and bring clothing and equipment for various weather conditions. Be sure to have something warmer or even wind-breaker in the summer months as it can be cold at Sky Pond or other parts of the hike.
The Sky Pond Hike
The hike starts from one of two trailheads. For those at Glacier Gorge, the trailhead is on the right side of the bus stop (when facing the bus-stop). You’ll see the trailhead for Glacier Gorge Trail.
For those starting from Bear Lake. Head towards the bear lake bus stop. On the left of the bus station you’ll see several trails. Keep left, and take the leftmost-trail here. It’ll say for Glacier Gorge Trailhead and Alberta Falls.
After about 0.3 miles from the Glacier Gorge Trailhead or about 0.5 miles from the Bear Lake Trailhead, you’ll reach the intersection for both of these trails. From here on, it’s the same trail no matter which place you started from.
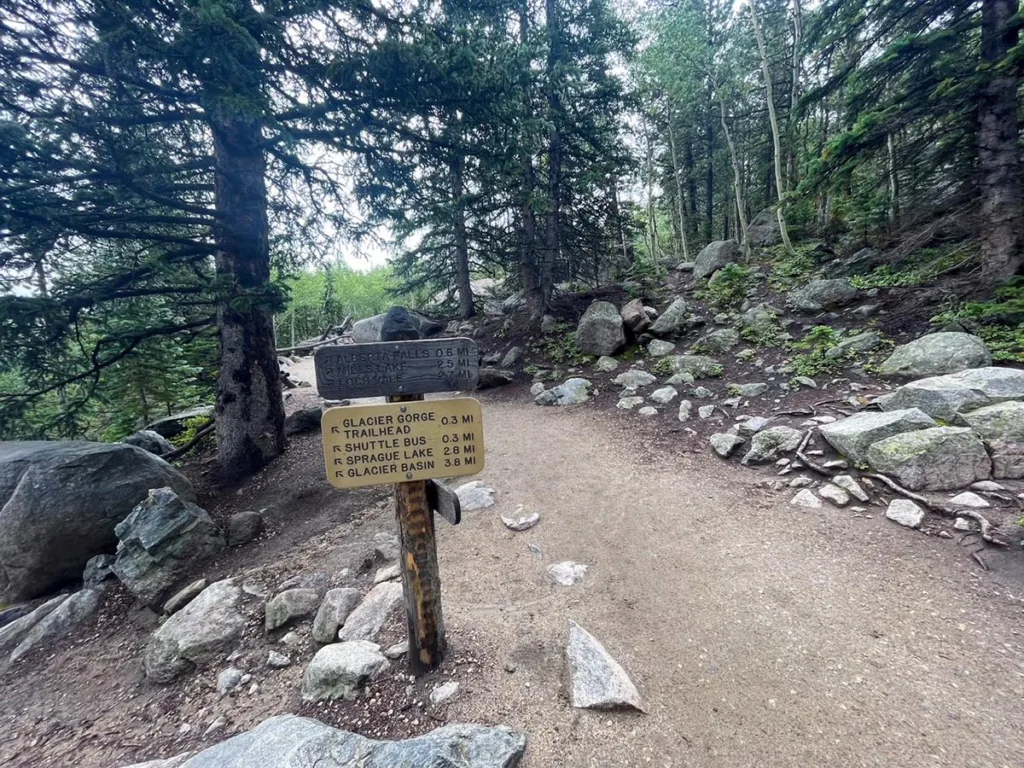
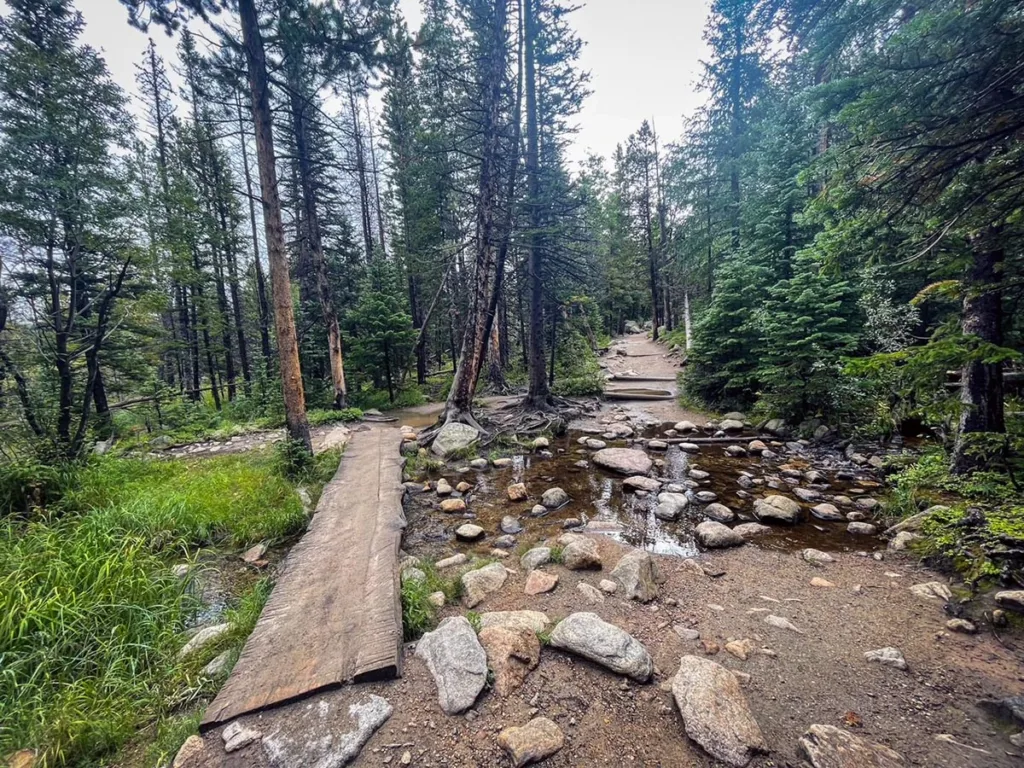
The trail here is pretty easy going. It’s mostly uphill although more so gradually. From here you’ll continue on the trail. There’s not much in terms of tricky parts. There’s a small water area I had to cross but it had an option of a bridge or rocks to cross.
Alberta Falls
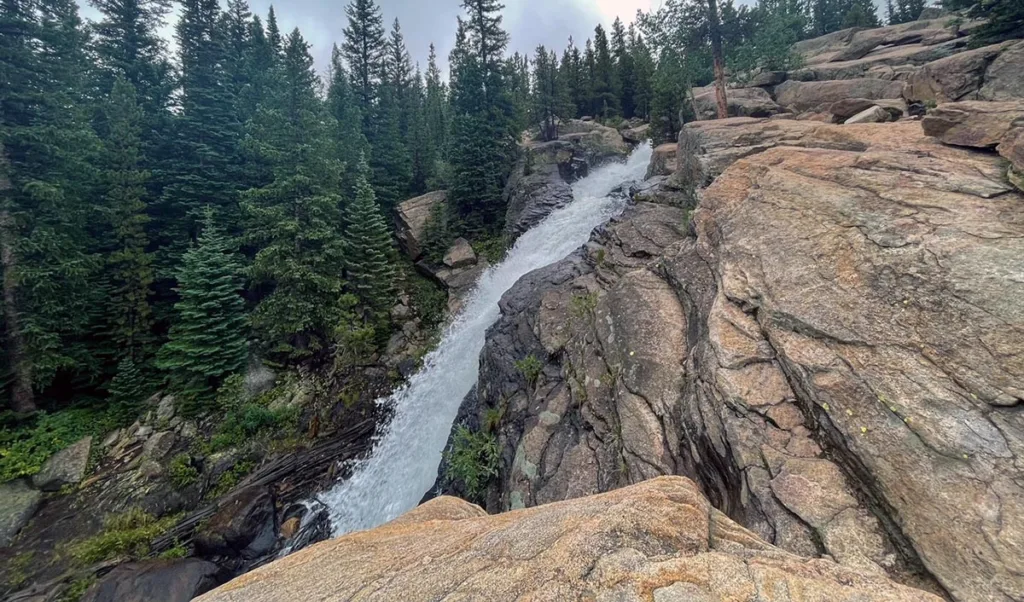
After about 0.6 miles in general, you’ll reach Alberta falls. It’s a pretty steady rise to here, as you’ll go up about 200 feet in elevation over the 0.6 miles. You can catch the falls from the trail or get a closer look from boulders (view as in photo above).
After this the trail will head right. Continue you follow the trail and about a mile beyond Alberta falls you’ll come to another intersection. Follow the trail right towards Loch Vale and Mills Lake.
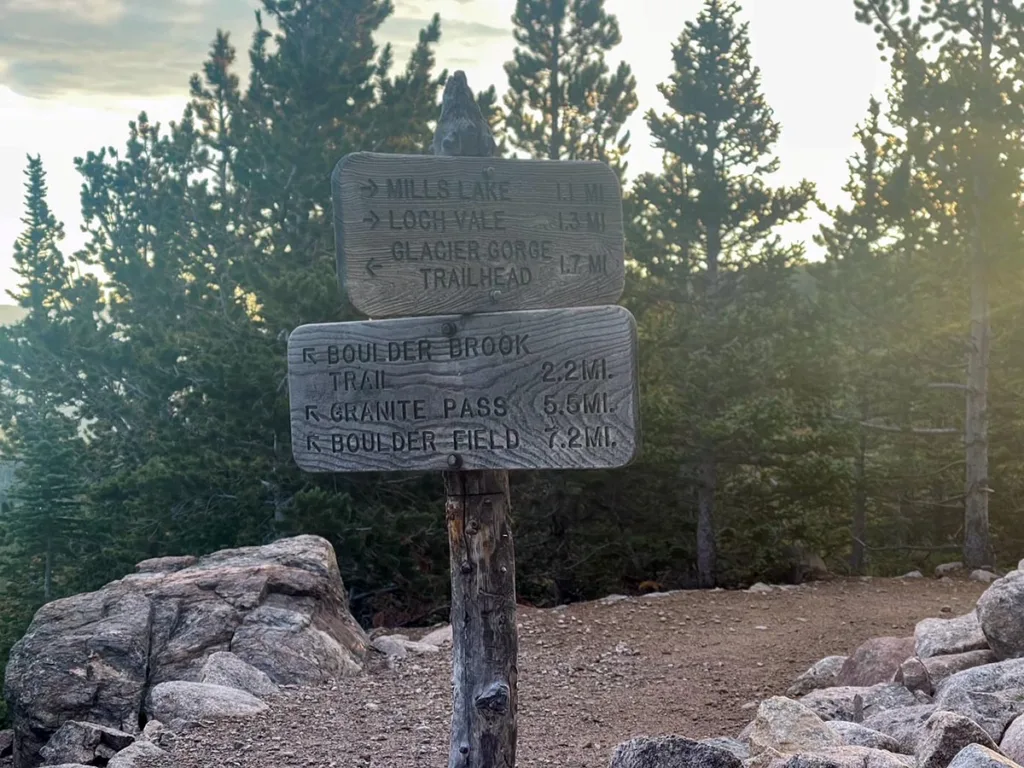
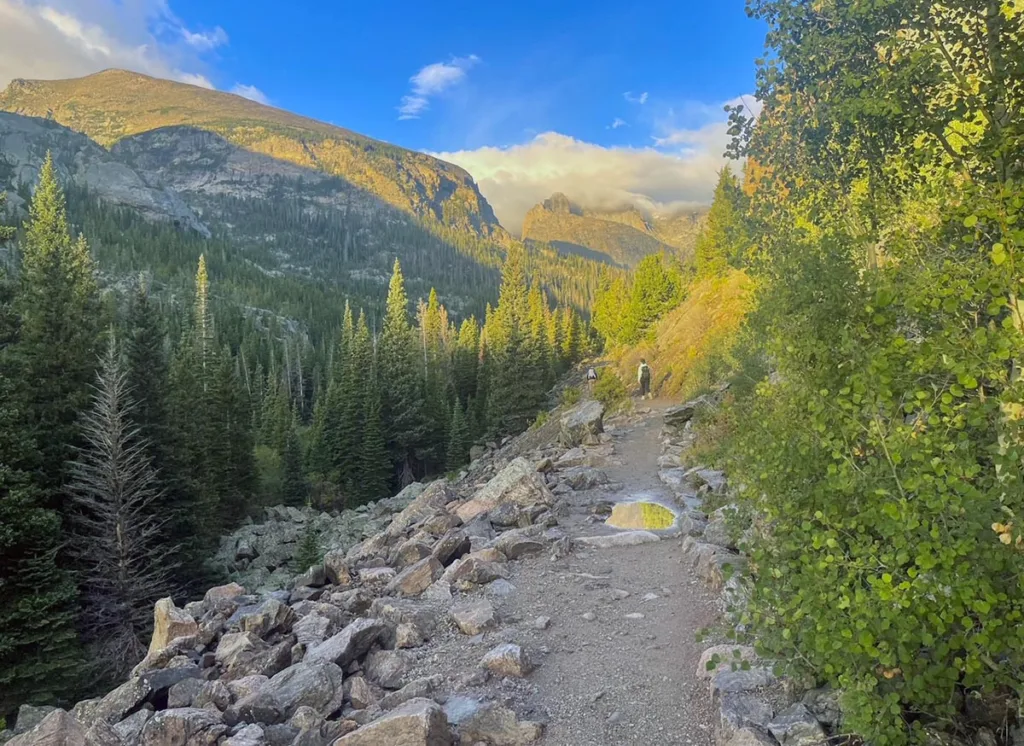
I found the views here to start really getting good and a bit more expansive. You’ll get some great views of the peaks around. This reminded me a lot of Glacier National Park as well (particularly the Highline Trail).
After about another 0.6 miles you’ll come to another intersection. If you head left, you’ll go towards Mill Lake. You’ll see another trail bear right towards Loch Vale / Sky Pond. This is the trail you want to hit. There’s another option further right towards Lake Haiyaha. This is incorrect for this hike.
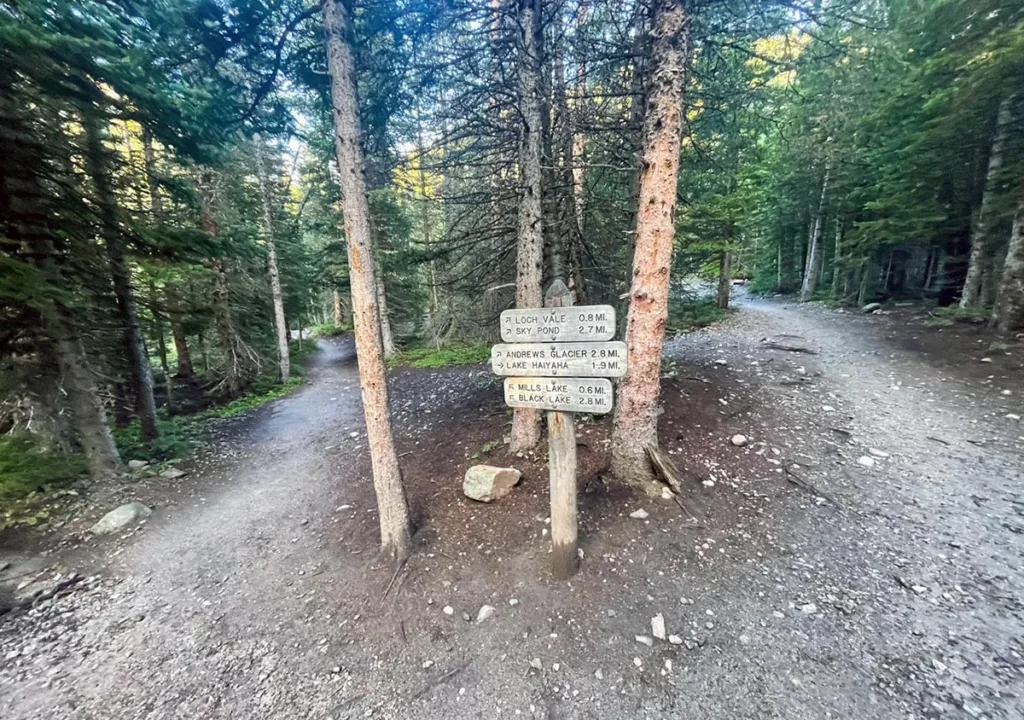
Note: Mill Lake is worth a visit, but we recommend waiting until after your visit to Sky Pond. You’ll want to get to the pond earlier (to avoid crowds/weather) as well as fresher legs for the waterfall.
The trail from here will continue up a rocky path. You’ll actually hit a set of switchbacks as well. Don’t cut the switchbacks (head the sign) as it does cause more erosion on the trail.
After about 0.3 miles you’ll come to another intersection. In front of you will be the Loch, which is a great spot to just take a quick break and some photos.

The Loch

The Loch is an absolutely beautiful place. After you get some time here and your shots, head back to the trail. The trail will head right and hug the coast of the Loch for quite a while.
You’ll be walking along the Loch for about 0.5 miles. The trail will hug the lake as you can see in the photo above.

Beyond this the hike actually is pretty fun. You’ll walk along a few wooden boards and through some woods and over some streams.

After about 0.3 miles from the end of the Loch you’ll reach the next junction sign. This is for Andrew’s Glacier. Andrews Glacier trail is to your right, but follow the trail as you were towards Sky Pond and Lake of Glass.

Continue to follow the boards and hike through the grass and woods until you get to a more exposed area. You’ll see a set of stone steps leading upwards. This is the path up until Timberline Falls.

Timberline Falls
This is the most difficult part of the hike and the one that requires the most caution. You’ll first cross some small rocks and boulders en route to the waterfalls. Then you’ll start to climb.

Keep an eye on your foot as you go up. As you see the waterfall will be coming down among the stones. As you work your way up, you’ll see a spot with a straight up climb.
For this I found sticking to the right, to be the easiest for ascending. You’ll see some good footholds and places to grab on your hands. It might even be drier than other spots in the waterfall.
However, I found it to be trickier to descend this way. You’ll have to face the cliff to second this route and it’s harder to find footholds in the waterfall. I found it easier to slide down the area of the waterfall to the left. However, you’ll get far more wet.

After this tricky spot the waterfall will continue to climb. It’s still slick and wet but it’s not as hard to ascend. Be sure though to be very cautious on descent. Descent is when most folks get injured.
The entire area is several hundred feet, but it will certainly feel much longer. Take this part slowly. Also some areas do require you to wait until folks pass.
Afterwards, you’ll just have to go a short distance and you’ll be at the Lake of Glass.
Lake of Glass
The Lake of Glass is beautiful but don’t turn around here! I ran into several folks who thought this was the end and they would have turned around if someone didn’t stop them.

If you head to your left there’s a spot most people stop to rest a bit and take photos of the lake. Take your time. When you are done, get set for the last bit of the hike to Sky Pond.
Sky Pond
Note: There’s no discernible trail marker for the trail to Sky Pond from here. It took me a bit of time to find the way.
Look towards the hill. On the right side you’ll see a big boulder. Use that as a marker. Head up towards the boulder and then face left. You’ll see another boulder in front of you. The boulder will be on top of an area that’s a cliff blocking way along the lake.

Head to the right around the boulder and then you’ll see the path descending towards the side of the Lake of Glass on the left. This is the trail to Sky Pond. It will briefly head to the right a bit later on the trail but it should be easy enough to track the trail from here.

Continue on the trail. The trail is pretty discernible here. The trail will get rocky and in total will be about 0.3 miles or so from the beginning of the Lake of Glass until Sky Pond.
You did it. You’ve made it to Sky Pond with the beautiful sheer cliffs ringing the pond. You can walk around a bit although it’s very bouldery in places so watch your step. I spent a good deal of time here relaxing and watching the folks before heading back.

You’ll need to head back in the same direction you came.
Bonus: Mill Lake
We mentioned this earlier in the post. But if you have time and energy you can visit Mill Lake on your way back. This does add 1.2 miles to your hike, so only do so if you are not tired of lakes and have the energy.
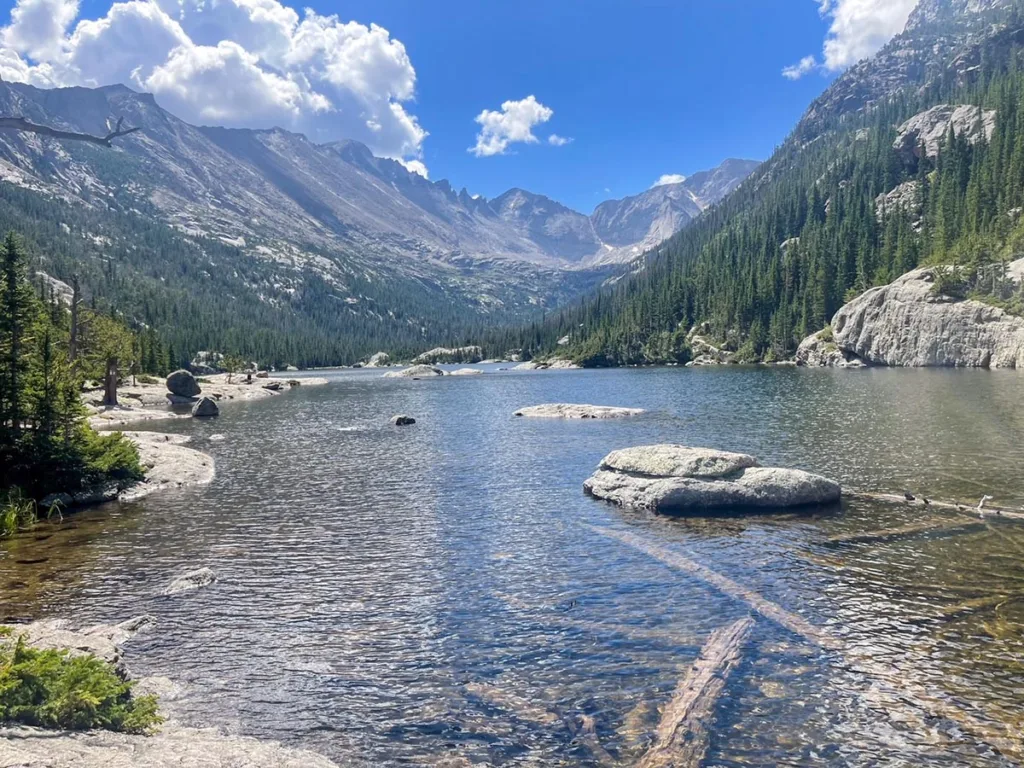
About 2 miles back from Sky Pond you’ll return to the intersection with Lake Haiyaha and Glacier Gorge Trail. Turn onto Glacier Gorge Trail. You’ll walk through the woods, cross a couple bridges and then up towards the lake.
The only tricky part on the trail is that when you come to a clearing about 0.5 miles into the hike, head towards your left. You’ll follow some boulders along the top of a smooth rocky area. Continue on until you see Mill Lake on your left.
Tips & FAQs
- Bring waterproof clothing. It can often change in terms of weather on the hike with afternoon rains common. You’ll also likely get wet in the waterfall section as well.
- Bring lots of water and snacks. I would recommend at least 3 liters (or more if you drink more). It can be very hot in the sun in Rocky Mountain, even if the air temperature seems far lower.
- Be sure you are acclimated to the altitude. The hike starts at 9,200 feet and tops out around 10,880 feet. It’s not a great hike if you are not used to the elevation.
- Wear good shoes with traction. There’s lots of boulders and rocks you’ll need to traverse. And the waterfall can be very slick. Also snow/rain can make other rocks very slick too. Quality trail shoes or boots are important.
- Take it slow on the waterfall. It’s really slick and the most difficult part of the hike. I saw several people injure themselves on the hike up (and mostly down) the falls.
- For the sheer cliff area. I had the best luck ascending on the right, and descending to the left (in the falls). It might be easier for you too, but you’ll get wetter.
- Go early. Especially if you want to find parking. You’ll need to get to the trail early. Even more so, navigating the waterfall has sections that are one person at a time. You’ll want to avoid busy periods if possible. And for the weather too!
- Don’t turn around at glass lake! I ran into several people who thought it was the end of the trail. They would have been sad they stated if they missed sky pond.
- Check the weather. Weather can be unpredictable in Rocky Mountain NP. Rain / snow can really impair the ability to navigate some areas of the trail. You’ll want to avoid exposed areas if there are thunderstorms. Another reason to go early is that afternoon tends to bring storms in the park.
- Avoid the trail if you have small toddlers. I saw folks with backpacks with tots. It’s fine for most of the trail until you get to the waterfall. It can be very dangerous. You’ll need to scale one area that is vertical and with flowing water.
- Rocky Mountain NP is a fee area. You’ll need to have a valid entrance pass (or Annual Pass) for the National Park. Additionally you’ll need a Park Pass+ Timed Entry for access to the Bear Lake corridor between 5am and 6pm.
Leave a Reply