There are a lot of great hikes in Glacier National Park, but few have something as cool as Ptarmigan Tunnel. While it was not my ultimate favorite hike, I really did find the tunnel to be very cool, and the view out of this world. If I had more time I would have combined the hike with the larger multi-day hike that leads people further into the backcountry.
About the Ptarmigan Tunnel Hike
Distance: 10.6 miles | Type: Out & Back | Elev. Gain: 2,375 feet | Avg. Time: 5-6 hrs. | Difficulty: Hard
The Ptarmigan Tunnel takes takes visitors over 5 miles from the Many Glaciers parking lot to the Ptarmigan Tunnel. The Tunnel is definitely the highlight of the trail and most day hikers turn around once they pass through the tunnel. Built in the 1930s through the Ptarmigan Wall at an elevation of 7,200 feet. The 230 foot tunnel was built the by Civilian Conservation Corps (CCC) for access by tourists and horses in the park. Many of the trails in National Parks were built by the CCC during the depression.
The tunnel is reached by a set of switchbacks after hikers pass Ptarmigan lake on the trail. The switchback ascent to the tunnel is the most difficult part of the hike. The area of the trail is also a well known grizzly bear area, so hikers should be prepared for bear encounters. Hiking with bear spray and/or in a group is recommended.
The trail does continue past the Ptarmigan tunnel, and is generally hiked by those on a multi-day hikes such as North Circle. Backcountry Permits are required for any multi-day hike. As a day hike, the trail is popular to do along with the Iceberg Lake Trail as they both share the same 2.8 miles (5.6 miles round trip).
Best Times to Do the Ptarmigan Tunnel
Ptarmigan Tunnel is open more of the year. However, the road to Many Glaciers does close in the winter as do most roads in Glacier National Park.
Summer is the best time to visit, with late spring and fall quickly behind it. If you go in the summer you’ll likely have the least chance for snow or other obstacles. However, outside of peak season you’ll see far fewer people.
Many Glaciers is still part of the fee area for Glacier NP, so be sure to either have a pass or display if no one is there to take your entrance fee.
How to Get There
The Ptarmigan Tunnel Trailhead is located in the Many Glaciers area close to the Many Glaciers hotel and campground. The trail head is located right now to the parking lot.
By Car
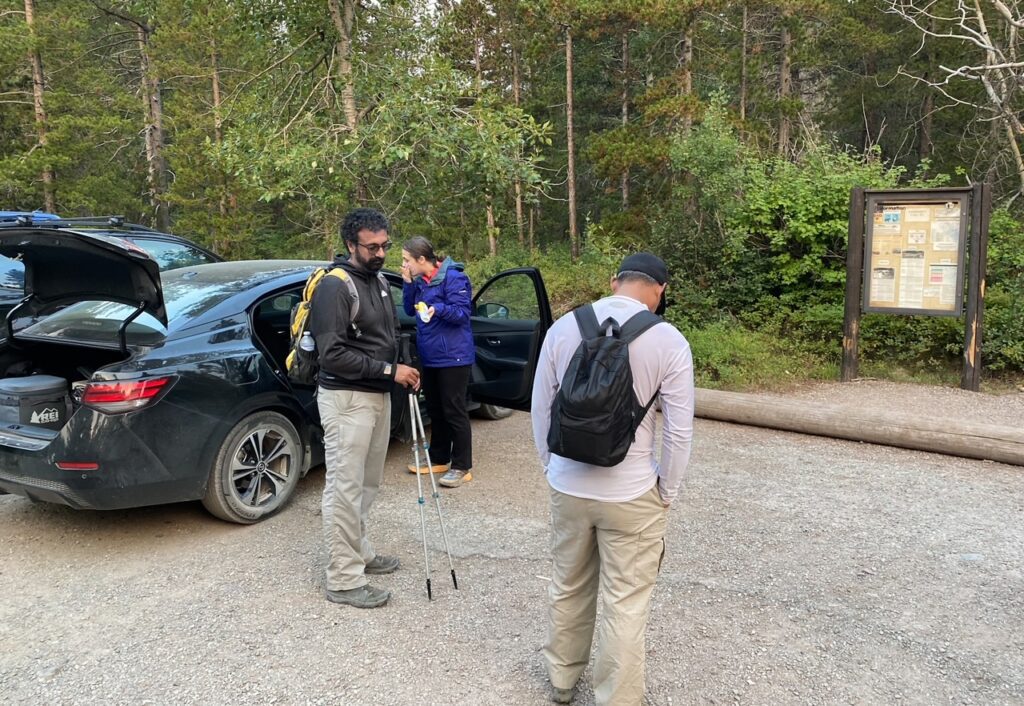
You’ll find parking here near the trailhead in Many Glaciers for access to Ptarmigan Tunnel. Look for parking near the campground that is not restricted only to campers.
There are no restrictions for traffic on the route 3 into Many Glaciers, so you don’t need a reservation for visiting. However, if you don’t have a car reservation, you’ll need to go around Glacier National Park to the south if you are coming from the west side of Glacier (where most folks stay).
By Shuttle
There is a Hiker’s Shuttle that accesses Many Glaciers that is operated by Xanterra (the same folks who operate the National Park hotels). Unfortunately the shuttle is not free. So you’ll need to pay for a trip to and from one of the stops.
Shuttles leave from St. Mary’s Visitor Center. Just remember that you may need to transfer to the park shuttle depending on where you are going.
For more information, check out the Xanterra Glacier Shuttle Page.
Hiking the Ptarmigan Tunnel Trail
This is an overview/walkthrough of the Ptarmigan Tunnel Hike from Many Glaciers. The trailhead in the Many Glaciers area near-to the Many Glaciers campground and Swiftcurrent Motor Inn. There entrance is on the northwest side of the parking lot that north of the Motor Inn.
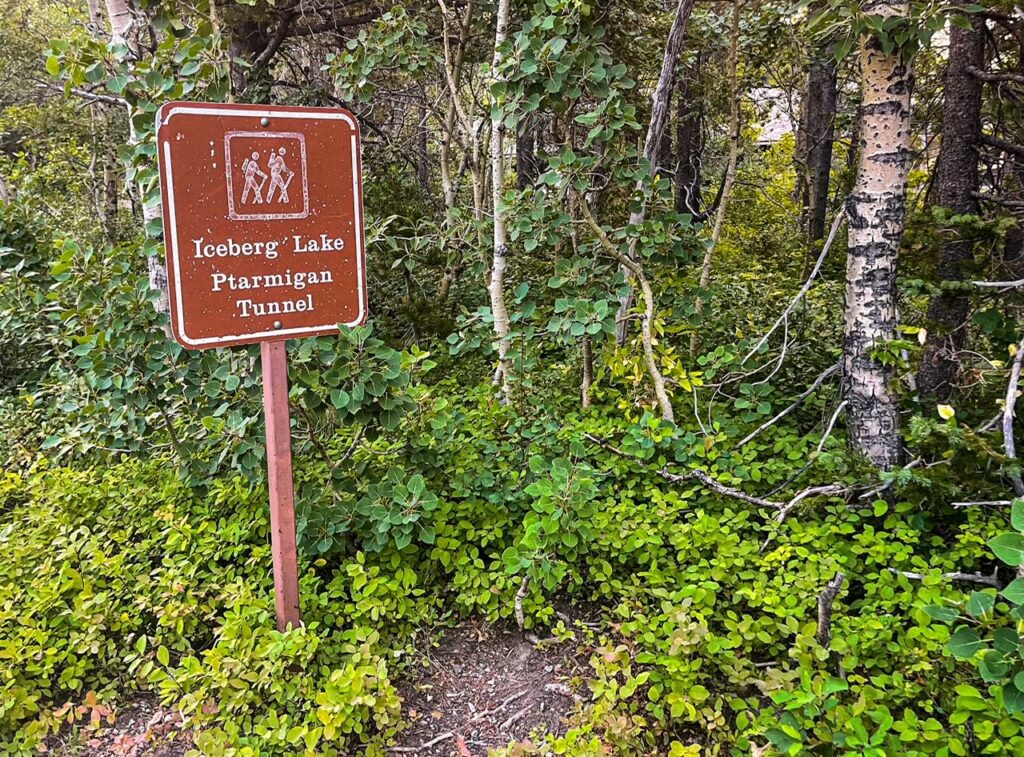
Iceberg Lake and Ptarmigan Tunnel begin at the same trailhead. The trails will be combined for about the first 2.6 miles of the hike. You can even do both if you start early on the first hike. I recommend doing the Ptarmigan Tunnel hike first of the two as its a bit more strenuous.
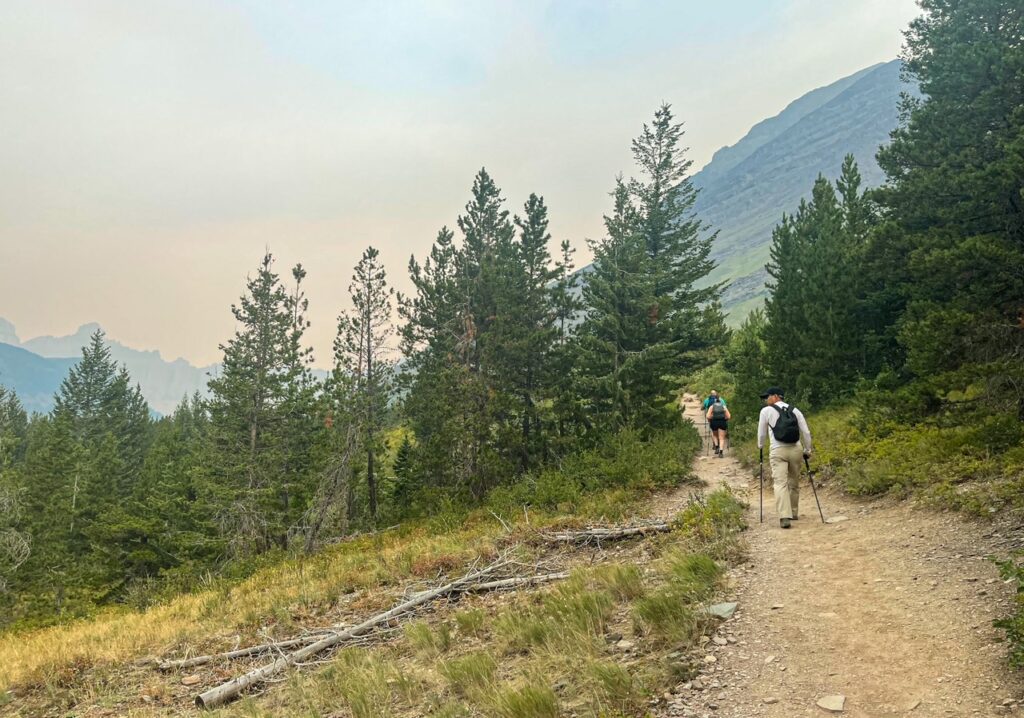
The trail from the trailhead for the first couple miles starts pretty open. You’ll go through a mix of forest and open area. The trail climbs pretty steadily for the first several miles.
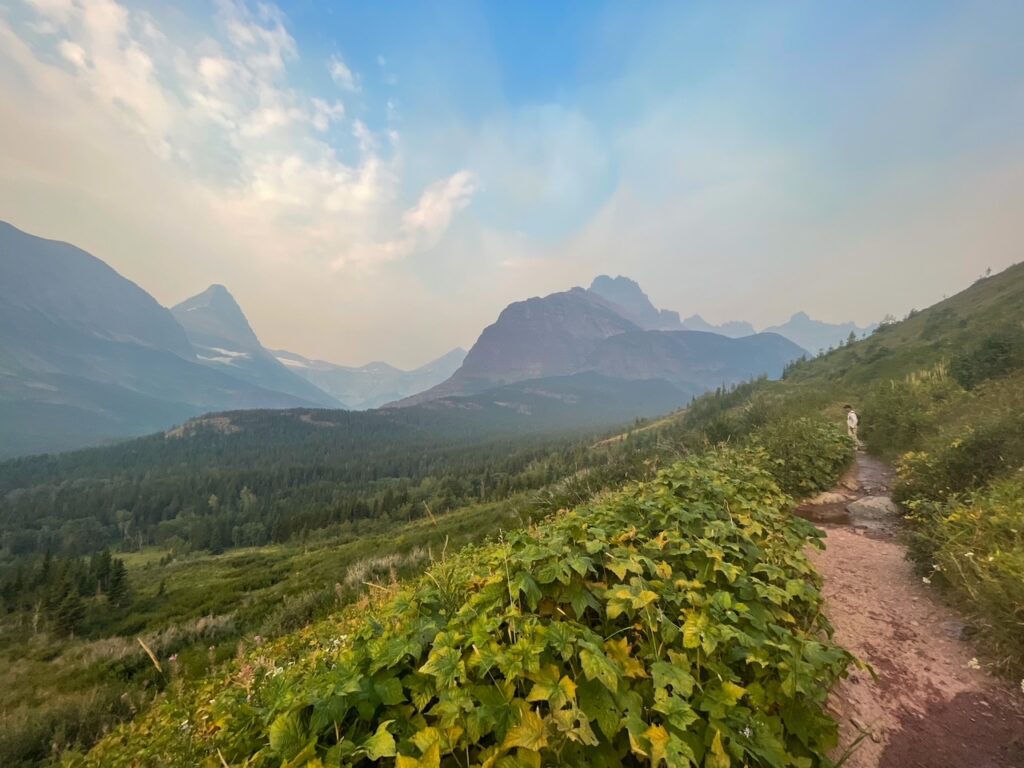
The Trail continues with some great views of the forested area of the mountains. I would keep my eyes out for some wildlife in this area. While we didn’t see bears, some of the other folks hiking saw bears in this area.

Around the 2.5 mile mark, the trail crosses the Ptarmigan Creek. there are stones to help with the cross and its not too bad of a crossing. You might get a little wet so it does help to have waterproof boots/shoes if you have them with you.
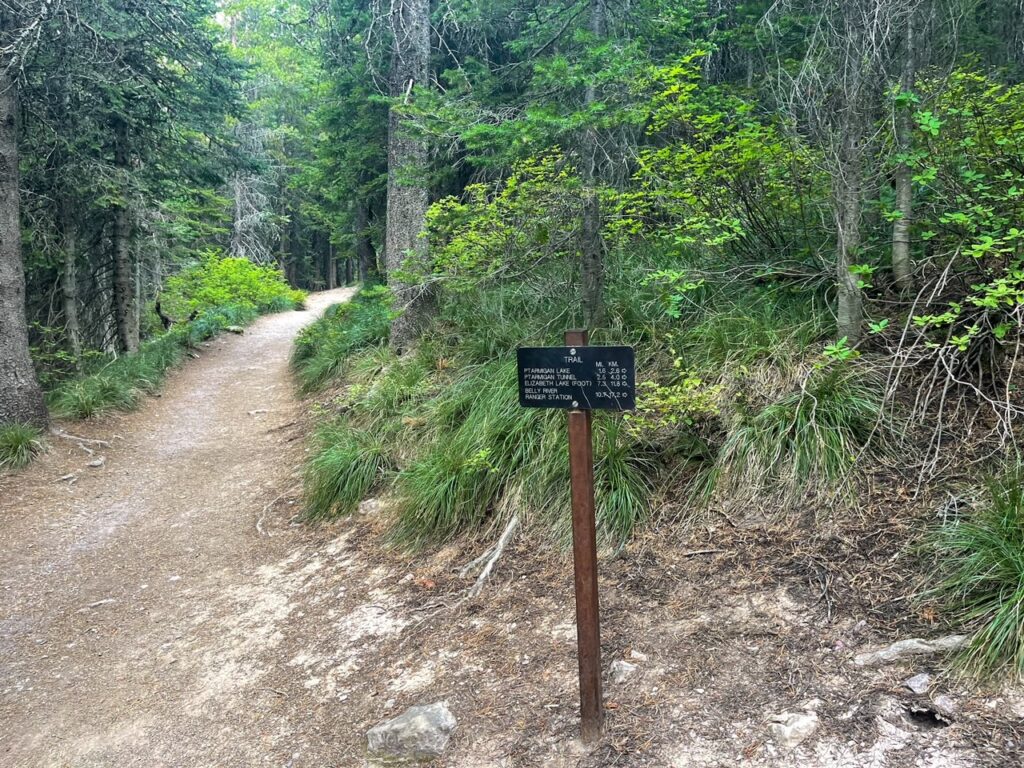
Slightly after the creek, about another 0.2 miles or so, you’ll come to a fork in the trail. Going straight will take you towards Iceberg Lake, turn right to head towards Ptarmigan Tunnel. You are about half way to the tunnel at this point. The hardest parts of the trail are still coming up though.
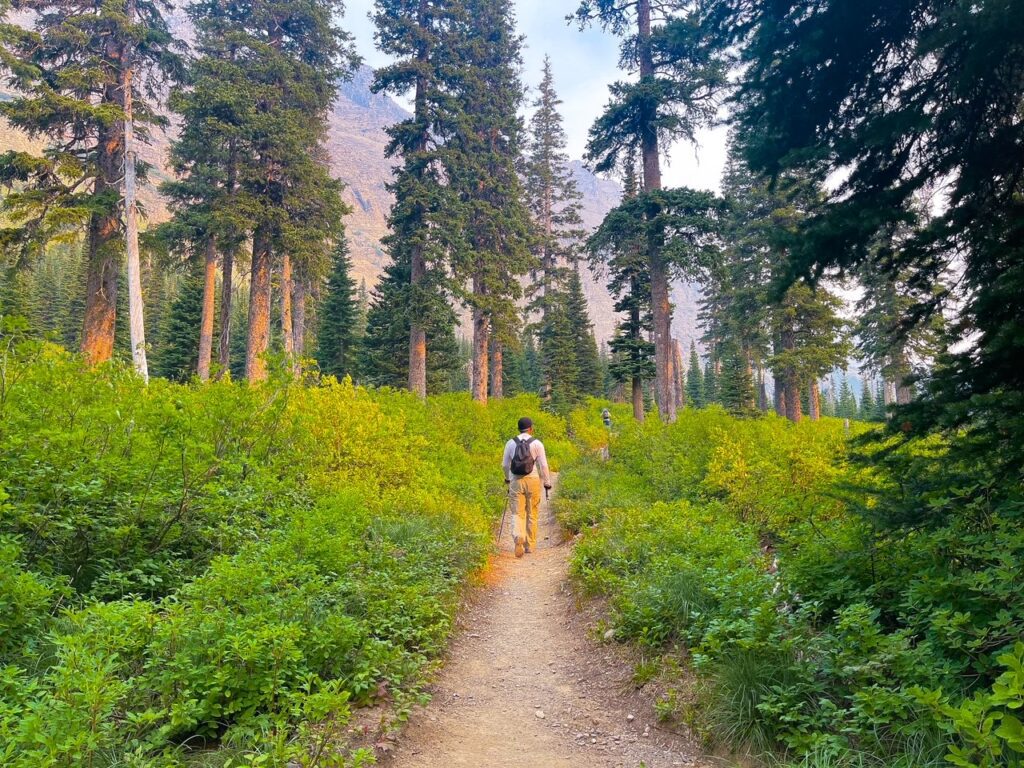
The trail now takes you through the woods. I would keep an eye out for bears here as well. We didn’t see a bear, but we saw signs of bears as well as people who said they saw bears on the trail before or after we had passed this area. Just something to be aware of.

At around 4 and 1/4 miles, you’ll arrive at Ptarmigan Lake. This small lake has some cool areas to get photos from, and it’s a pretty good place for a break, snack. You can get done closer to the lake as well. It’s a nice place to rest a bit if you are tired before the hardest part of the hike.

From the Tunnel the trail starts to climb more quickly up the Ptarmigan wall to the Ptarmigan tunnel. The trail gets much more steep in this area too, and it was definitely a slog up to the tunnel.
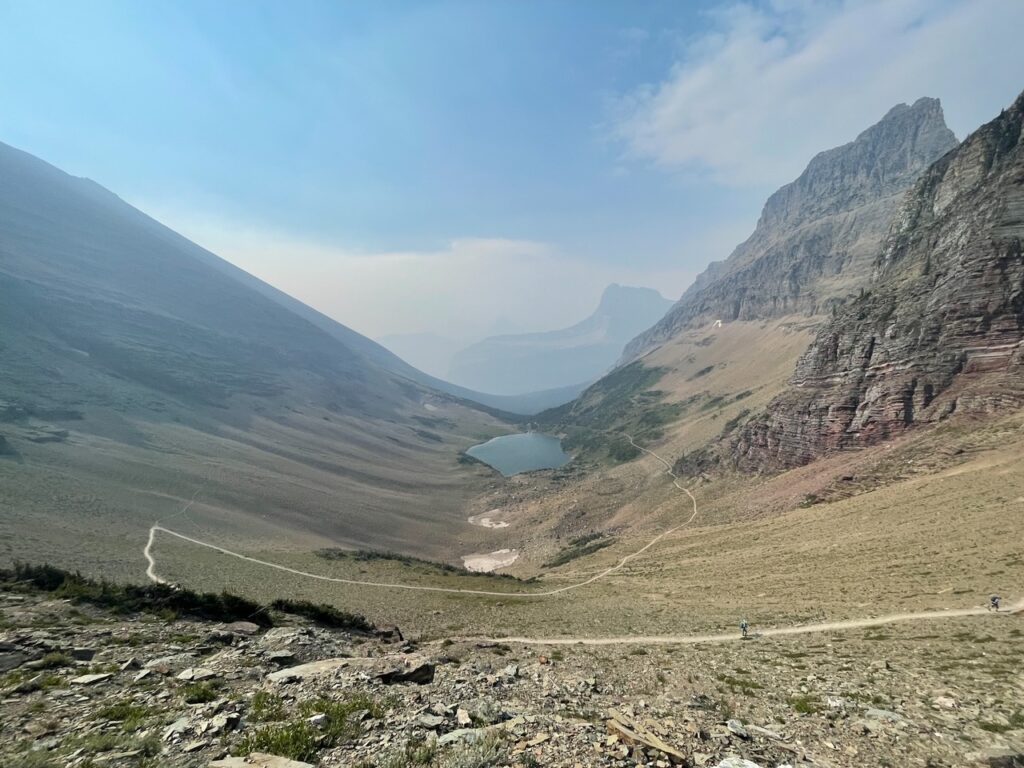
It’s hard to get a good photo of the trail and the scale looking up. So here’s a photo looking back from the trail near the tunnel to show the switchbacks and the lake below. This area was also where we saw quite a few big horn sheep. Hopefully you’ll have similar luck as well.
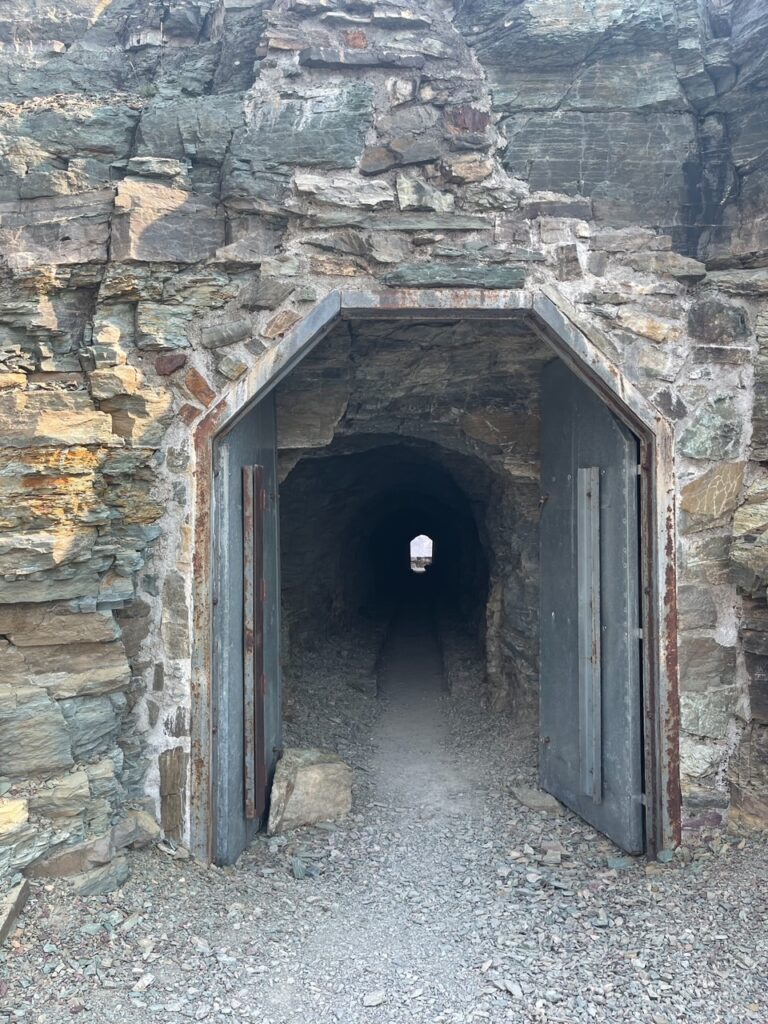
Here’s the goal you’ve been waiting for. This is the entrance to the Ptarmigan Tunnel at approximately 7,200 feet above sea level. The tunnel is pretty cool and quite a decent size.
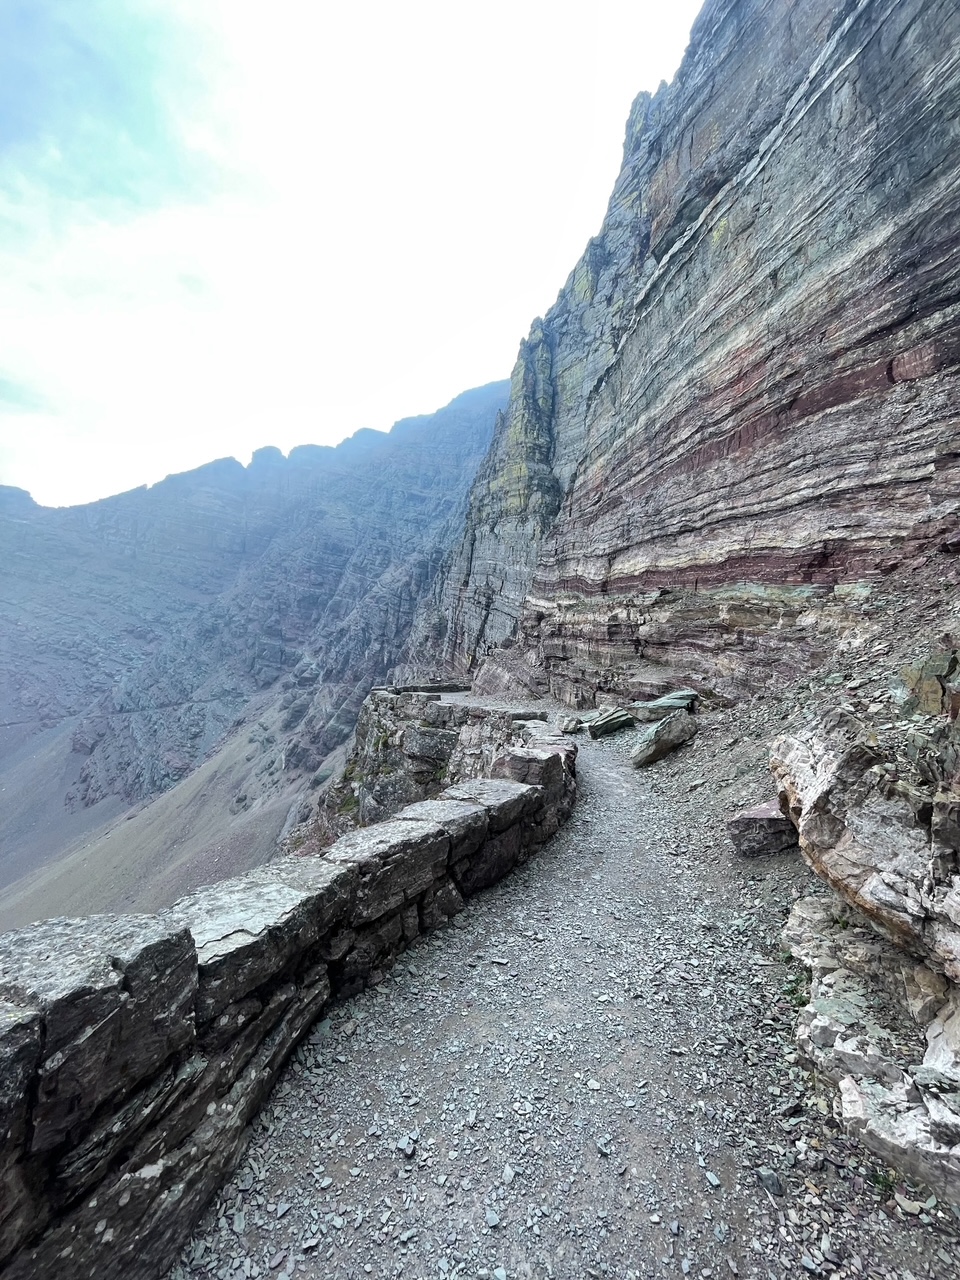
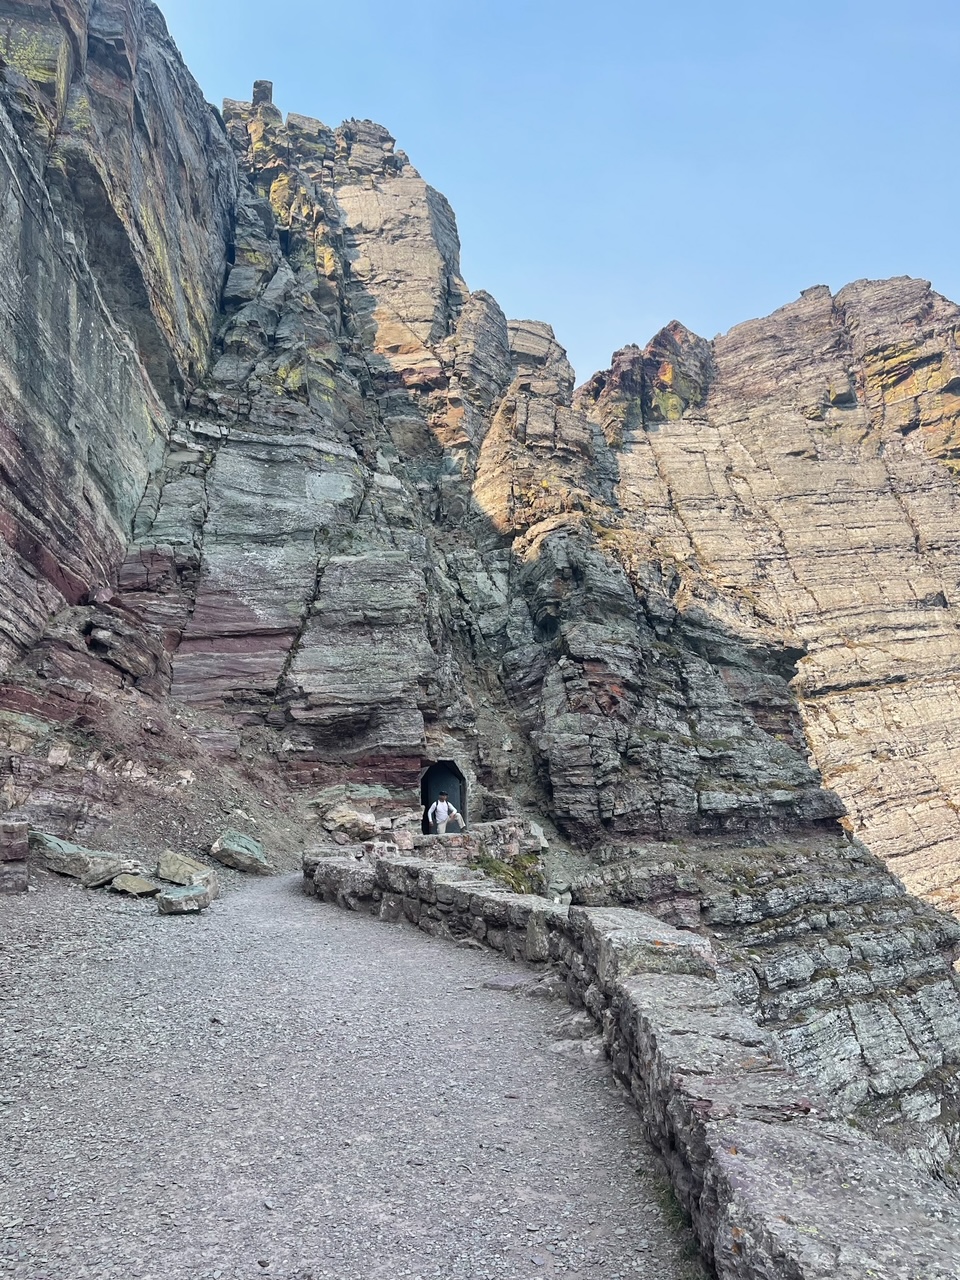
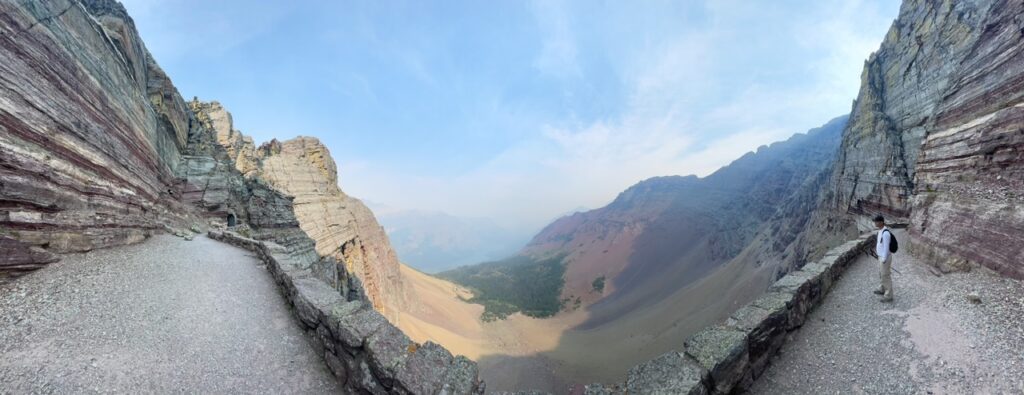
This is the view of the tunnel area after the hike. I love how the scenery changes so significantly after you go through the tunnel. The area feels more desert-like than it did on the other side of the tunnel. From here if the trail continues if for many miles, and quite a few folks do this as part of a multi-day backcountry hike. You’ll need a permit if you plan to spend the night. It’s a pretty good place to turn around if you are doing a day hike. This is where the general day hike stops.

The above is the panorama of the view from the landing after the Ptarmigan Tunnel. I still don’t think it does it quite justice at this point. My friend hopefully doesn’t mind being the model in the shot.
From here, if you are doing this as just a day hike, you can turn around. The trail is out and back so you can follow it back exactly the way you came. If you have time, you can also do the Iceberg Lake trail. It’ll add about an additional 4 miles to your overall hike to visit Iceberg Lake as well.
Tips and FAQs
- Prepare for Grizzly Bears. This is Bear Country and the area around Many Glaciers is known for lots of bear sightings. Travel in groups, carry bear spray, bells, or other device to warn and protect against Grizzlies.
- Bring Snacks and Water. While there is water to be found on the trail, you’ll need to filter anything you find.
- Wear good boots or trail shoes. It’s definitely some rock area. It’s also helpful to have waterproof footwear as you’ll cross a small stream as well.
- Download offline maps of the hike. It’ll help with navigation as cell service is only available in some areas.
- If you start early, you should be able to do both Ptarmigan Tunnel and Iceberg lake in the same day. You’ll also avoid more crowds.
- Bring Trekking Poles. These were a lifesaver and knee-saver across my hiking in Glacier National Park
Other Posts you May Like
- MONTANA: Hiking the Highline Trail
- MONTANA: Exploring Grant-Kohrs Ranch NHS
- MONTANA: Best Ways to get to Glacier National Park
- NORTH DAKOTA: Guide to Theodore Roosevelt NP
Leave a Reply