The Iceberg Lake trail is one of the most beautiful and popular trails. It is located in the Many Glaciers section of Glacier National park and takes you to a glacial lake.
Table of Contents
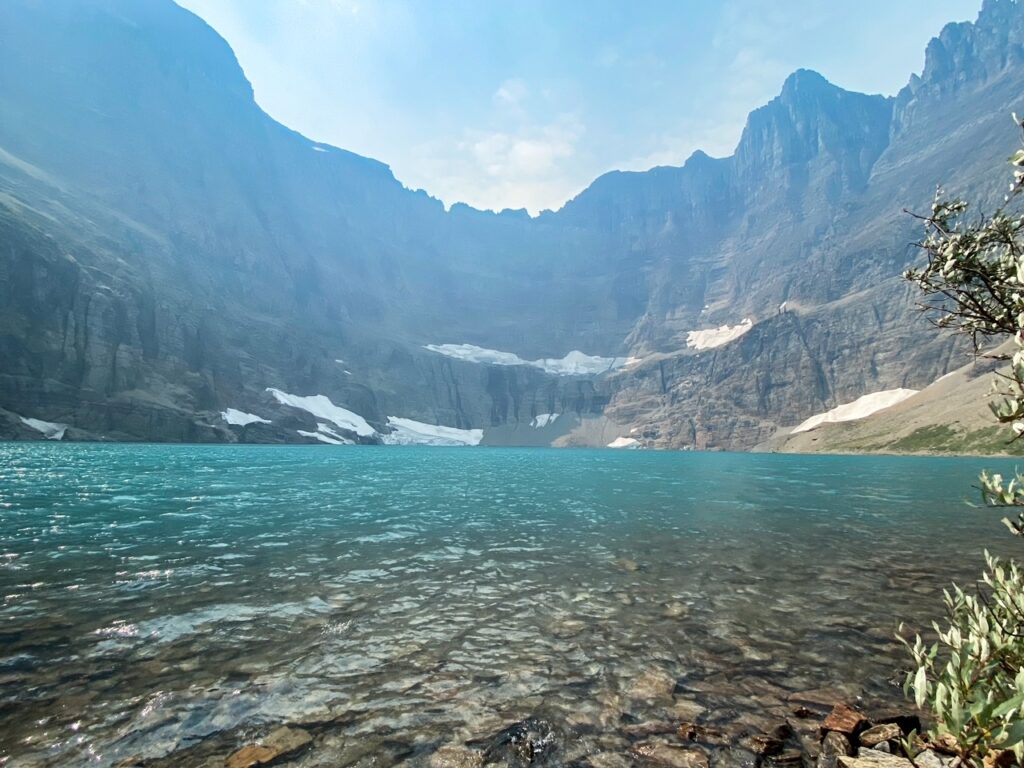
About the Iceberg Lake Trail
Distance: 9.3 miles | Type: Out & Back | Elev. Gain: 1,450 ft. | Avg. Time: 4 hours | Difficulty: Moderate
The Iceberg Lake is a beautiful glacial lake in the many glaciers area of Glacier National Park. The hike is about 4.6ish miles each way from the trailhead to and from the lake. The trail terminates at the lake so there really isn’t much to do to extend the trail.
The trail is very popular and the lake can get pretty crowded during summer and at peak times. It is also quite popular to do the Iceberg Lake Trail in combination with the Ptarmigan Tunnel Trail as they both share the same first 2.8 miles (5.6 miles round trip), which makes it easier if you plan to do both.
Best Times to visit Iceberg Lake
Late Spring to Early Fall is the best time to hike to Iceberg Lake. The weather is good, snowpack is lower, and roads open in the late spring. I found Summer to be particularly good for hiking. The weather was warm, there wasn’t snow to contend with, and there were services available everywhere. Summer is also the busiest season so you’ll contend with extra crowds. If you can avoid times when kids are out of school you’ll also benefit from lower crowds as well.
Winter: Like most things in Glacier National Park, they are technically open all-year round. However, many of the roads in Glacier National Park are seasonal. So, if you come in the winter, you’ll need to trek to even get to the trail head.
We hiked the trail in mid-August. It was perfect weather wise for the trail.
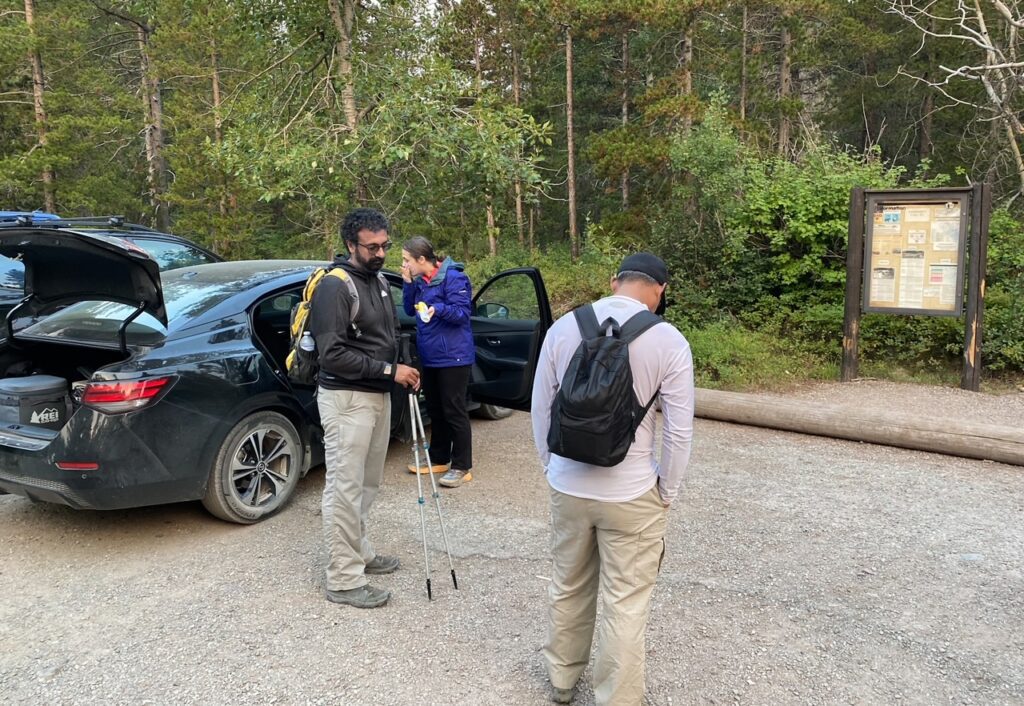
Getting to the Trail
The Trailhead for Iceberg lake is located in the Many Glaciers area of the park. This is accessed from the eastern end of Glacier National Park. The trailhead to Iceberg Lake is the same as the Ptarmigan Tunnel hike. Both trails are the same for the first several miles of the hike.
By Car
There is parking available, look for parking north of the Swiftcurrent Motor Inn that is not reserved.
There are no time-restrictions for traffic on the route 3 into Many Glaciers, so you won’t need a car reservation. However, if you are coming from the west side of Glacier NP, you’ll need to go around Glacier if you don’t have a Going-to-the-Sun reservation. Honestly it’s probably faster going around anyway.
By Shuttle
There is a Hiker’s Shuttle that accesses Many Glaciers operated by Xanterra (the folks who operate the National Park hotels). Unfortunately the shuttle is not free. So you’ll need to book tickets for the shuttle.
Shuttles leave from St. Mary’s Visitor Center. If you need to get here form other parts of the park, you’ll need to transfer to the park shuttle. Be sure to keep an eye on the time so you don’t miss the last shuttles.
For more information, check out the Xanterra Glacier Shuttle Page.
Hiking to Iceberg Lake
The trailhead for Iceberg lake is located at the northeast end of the parking lot in Many Glaciers north of Swiftcurrent Motor Lodge.

Looking for the above trailhead sign to know where the trail is. Note: It’s also the same trailhead for Ptarmigan Tunnel Trail.
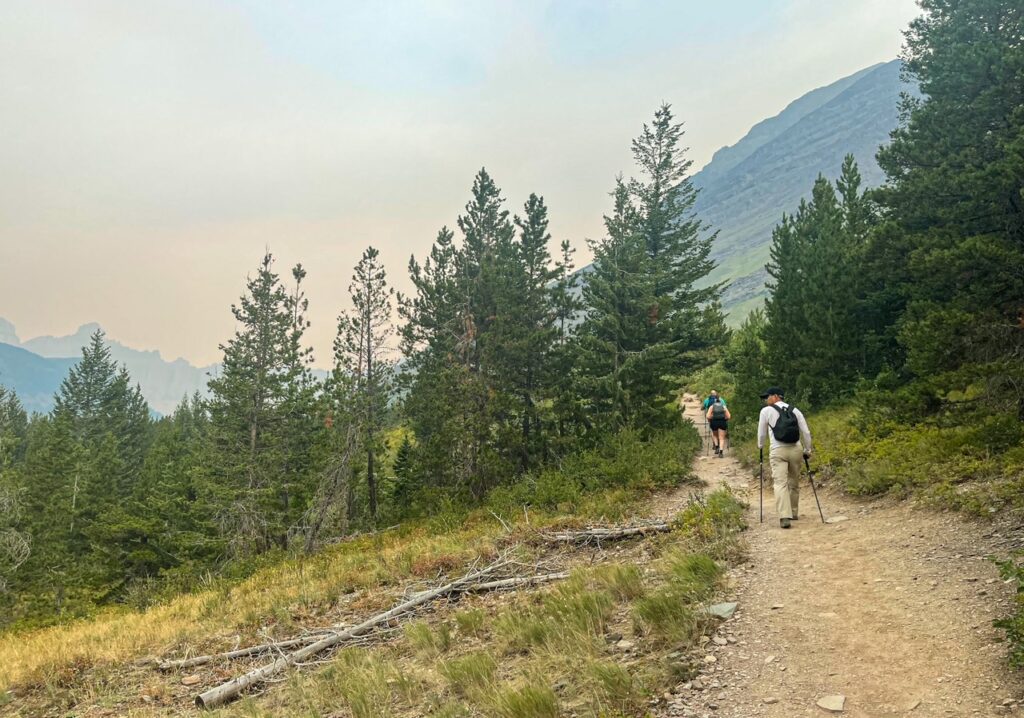
The trail is pretty open in the beginning of the trail. Both the Ptarmigan Tunnel and Iceberg Lake trails follow the same trail for about the first 2.6 miles. For those who want to do both, I would recommend doing the Ptarmigan Tunnel trail first (as its more strenuous). Although, the area around Iceberg Lake can get more crowded later in the day. So if you want more solitude you can maybe do Iceberg lake first. Adding in Ptarmigan Tunnel will add about 5 additional miles to your hike.

At about 2.5 miles you’ll cross the Ptarmigan Creek. It’s a pretty easy, quick crossing. I think I just walked through the water since my boots were waterproof.
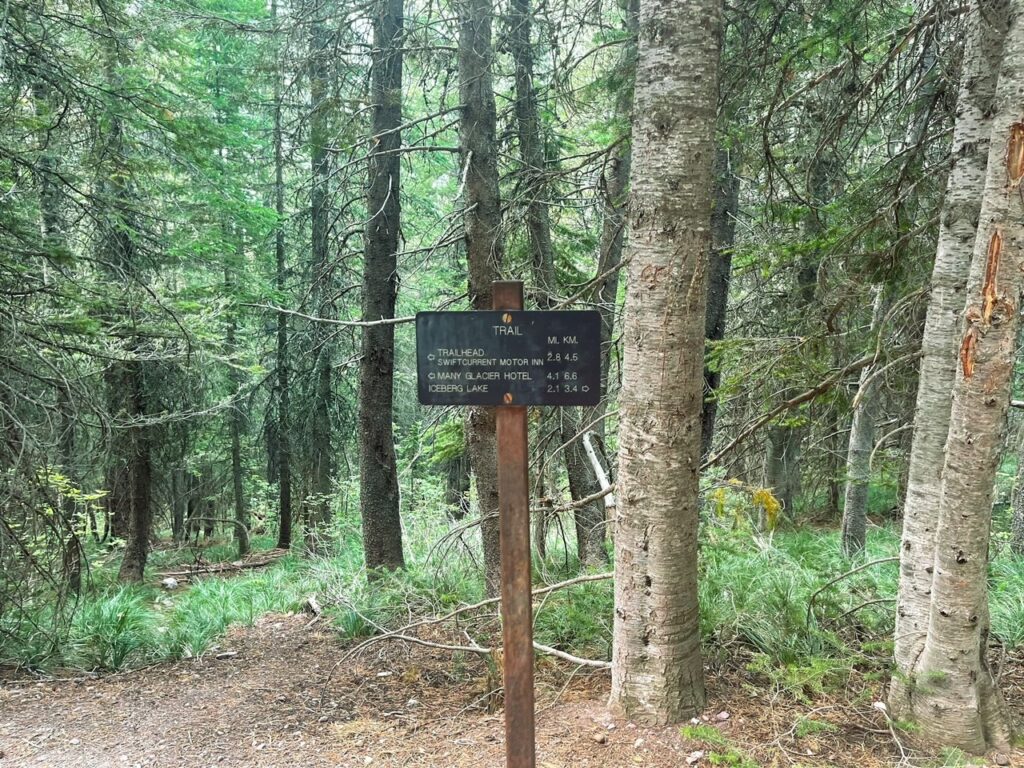
After about another 0.2 miles (at the ~2.8 mile mark), you’ll come to a fork in the road. Continue straight on the trail towards iceberg lake. If you go to the right you’ll end up heading towards Ptarmigan Tunnel. You are a bit more than half-way to the lake, which is about another 2.1 miles further.

The road to Iceberg Lake stays pretty consistent with elevation gain at this point. The trail does go up and down a bit but overall nothing too extreme. You’ll pretty much up and down like this for the majority of the remainder of the trail until you get close to the lake.

Keep an eye out for wildlife as well on the trail. We saw more than one moose on our trail to Iceberg Lake. Some other folks saw a bear, however we didn’t see one ourselves.


Not long before you actually get to Iceberg Lake, you’ll pass by and around a small pond and Iceberg Creek. Not that you’d confuse it with the lake, but I got way too excited that I already made it. Granted I had done Ptarmigan Tunnel before this hike so I was excited for a break!
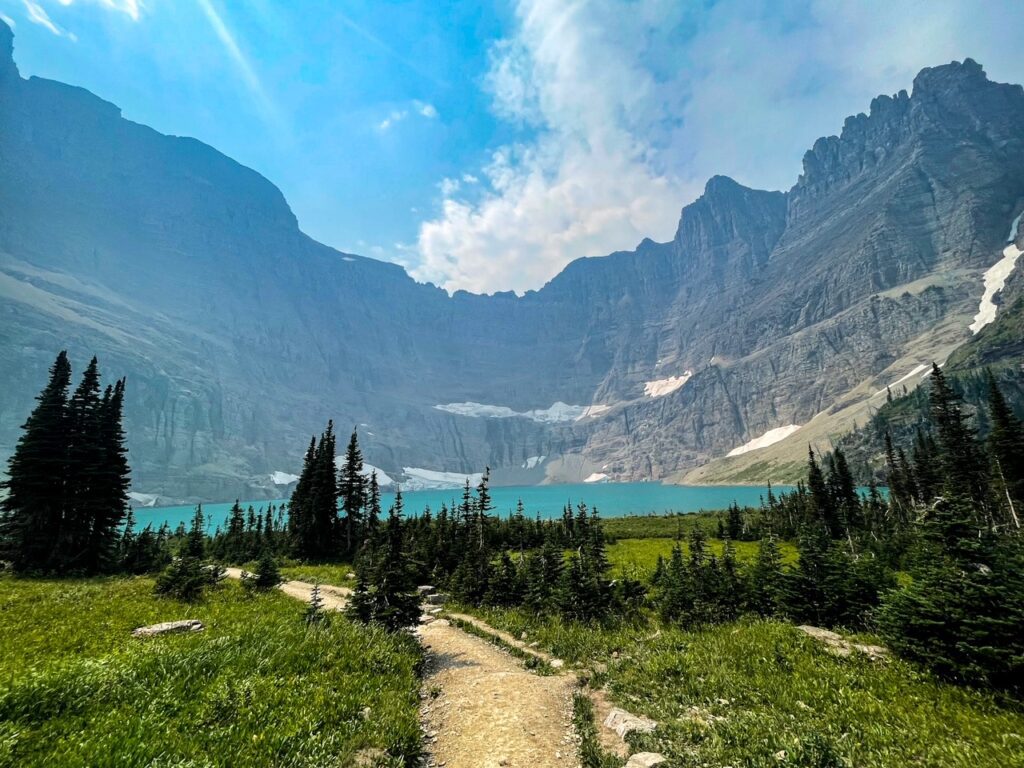
After passing the pond, it’s not far until Iceberg Lake. You’ll actually see it before you arrive at the lake. It’s a pretty cool view actually.

The view of Iceberg lake from the shore with the mountains and Iceberg Peak definitely were a highlight for me. It’s quite a beautiful view. It was also a good place for lunch, a break, and in my case a nap.
From here you can walk a bit around the lake. My friend dipped his foot into the lake and its really darn cold! Just FYI for those thinking about it. I realized later when I went to Peru and Humantay Lake it reminded me a lot of Iceberg Lake actually.
From here though, when you are ready, the way back is the same way you came. It’s an out and back trail.
Tips & FAQS
- Pack Snacks and Water. There is water on the trail, but you’ll need to filter.
- Sunscreen is a must as well. I found the sun to be strong, and there was a general lack of shade in places.
- Be Bear Smart. Many Glaciers area has a high concentration of bears. There were quite a few bear sightings on the hikes I did. Pack bear spray (they sell it at Costco in Montana), go in groups (loud noises generally keep them away), and if you see a bear, keep your distance.
- Pack good footwear. I think good boots and a good set of trekking poles really helped on the hike.
Other Posts you May Like
- MONTANA: Hiking the Highline Trail, Glacier’s Best Trail
- MONTANA: Visiting Grant-Kohr’s Ranch National Historic Site
- MONTANA: Ultimate Guide to Getting to Glacier National Park
- NORTH DAKOTA: Visitor’s Guide to Theodore Roosevelt National Park
Leave a Reply